Rock Painting: Baby Sea Turtle
Posted by Anh Pham
What You'll Need
White
Dark Green
Gold
- Burnt Umber
White Paint Marker
Black Marker
Watercolor Paper
Decorative Paper
Step 1: Add a Coat of White
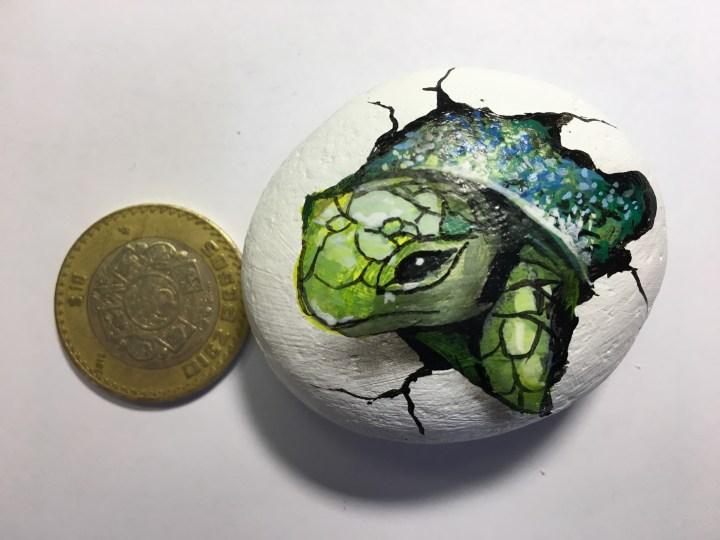
First, we start by painting the entire rock white on both sides. Apply several coats (4-5 coats) and let dry. This will allow us to paint on the rock surface more easily and acts as our turtle eggshell. Be sure to select the side of the rock that is the smoothest for easier painting.
Step 2: Add Black Base
I then add a black base coat to where the Turtle will be coming out of. On the edges of the cracked shell, make it nice and clean cracked looking edges. We will add the crack lines later.
Step 3: Block it in
Now we can start to block in the turtle's head and body. For this I use some very fine round paint brushes. I am only painting in a rough base for the different colors of his body and head.
Step 4: Add Details
Step 5: Shading and Highlighting
So pull out your airbrush for some shading and highlighting. I first paint a little transparent black around the areas that are coming out of the shell, like the neck, shell and arms. I want it to look like those areas are shaded from the shell to give it depth. Now, notice I added a little drop shadow under the head, onto the shell to make the head appear like it is coming out and above the shell. Next I added a touch of white highlights to the head and fin to really make it pop out.
So there you have it! Your very own baby Green Sea Turtle. I hope you have enjoyed this step by step as I am very happy with the way it all came out...(Pun intended) Happy painting and stay colorful!