How-To-Draw the Golden Eagle Using Watercolor

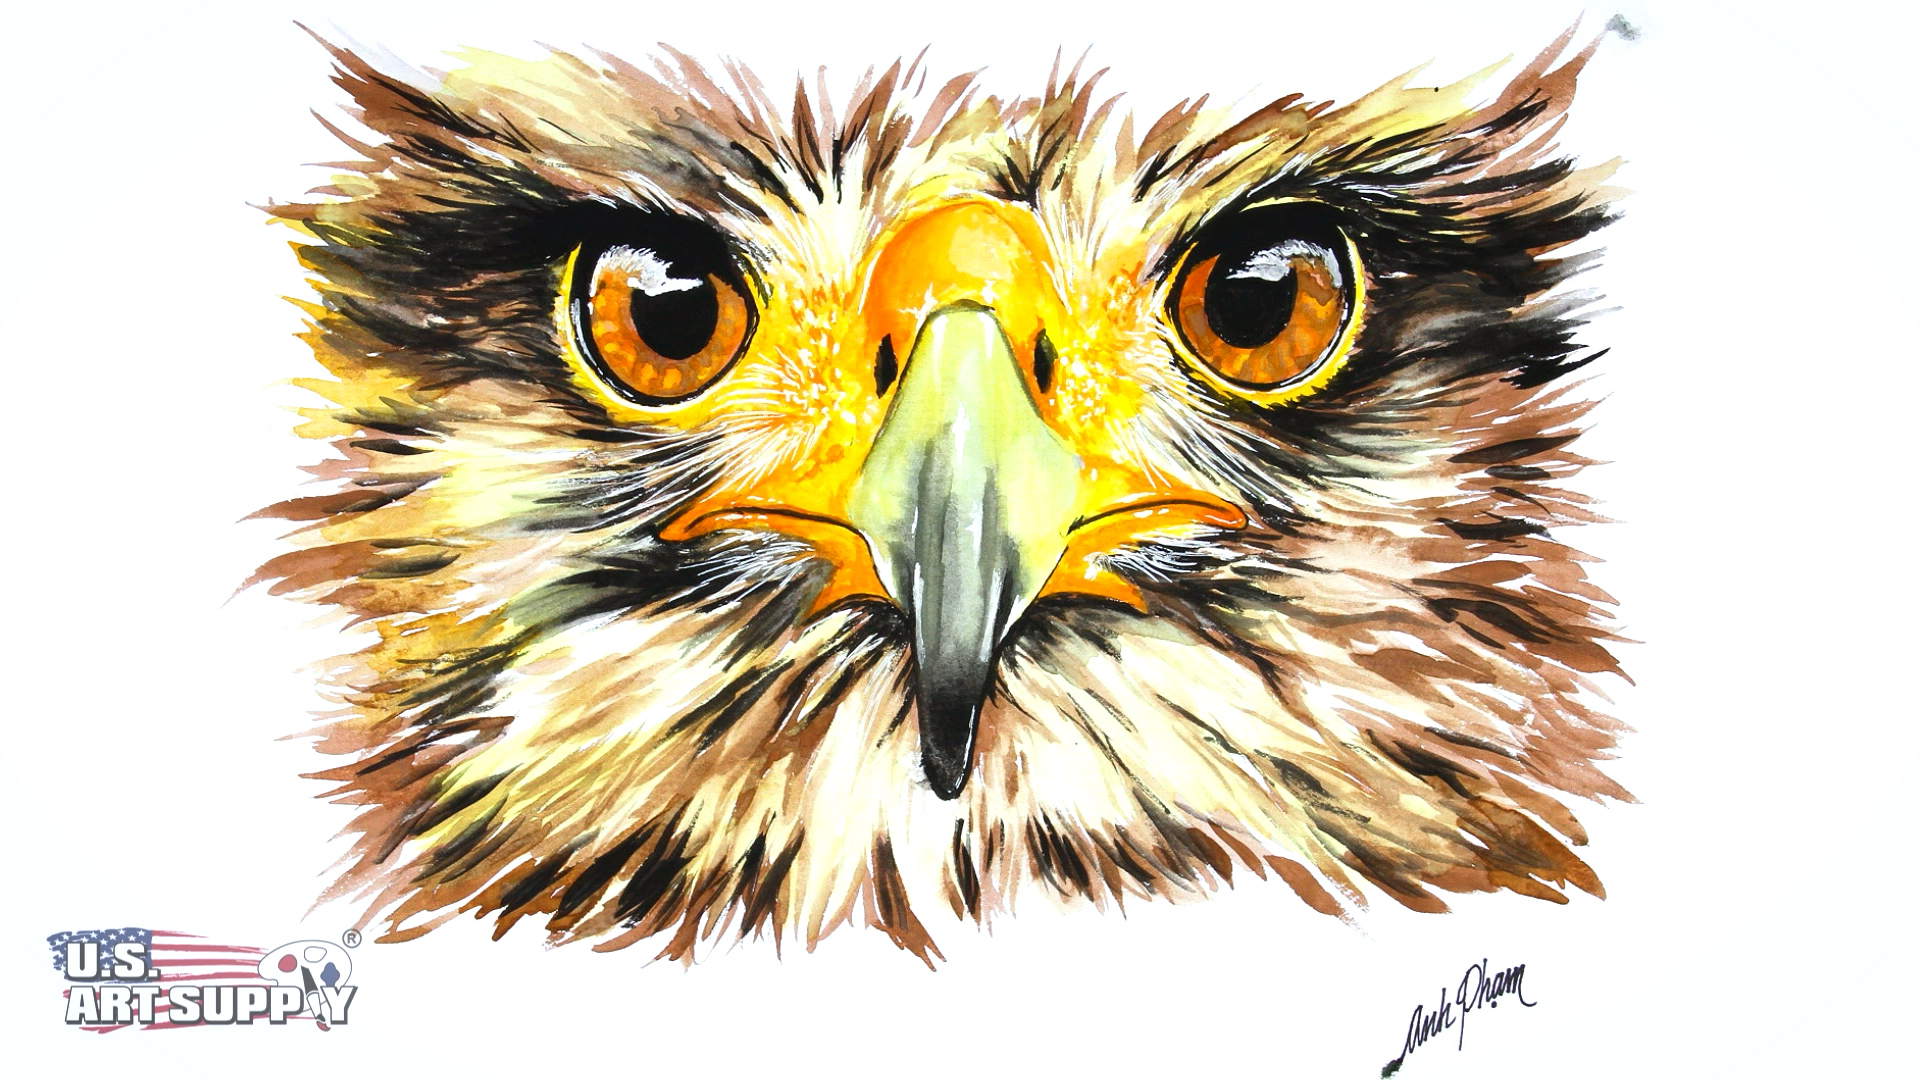
Today, I will be creating a very majestic and sacred creature, the Golden Eagle. In today’s lesson, I will be using Watercolor markers. These are some interesting art tools as they are watercolor paints inside of a marker. They come with a watercolor paintbrush style pen tip which allows you a wide range of different sized strokes for all these different sized feathers. So, let’s get to it!
What You'll Need
Watercolor Paint
- Burnt Sienna
- Yellow
- Orange
- Brown
- Dark Brown
- Black
Other Supplies
- Watercolor Paper
- Water Brush Set
Step 1: Sketch It Out
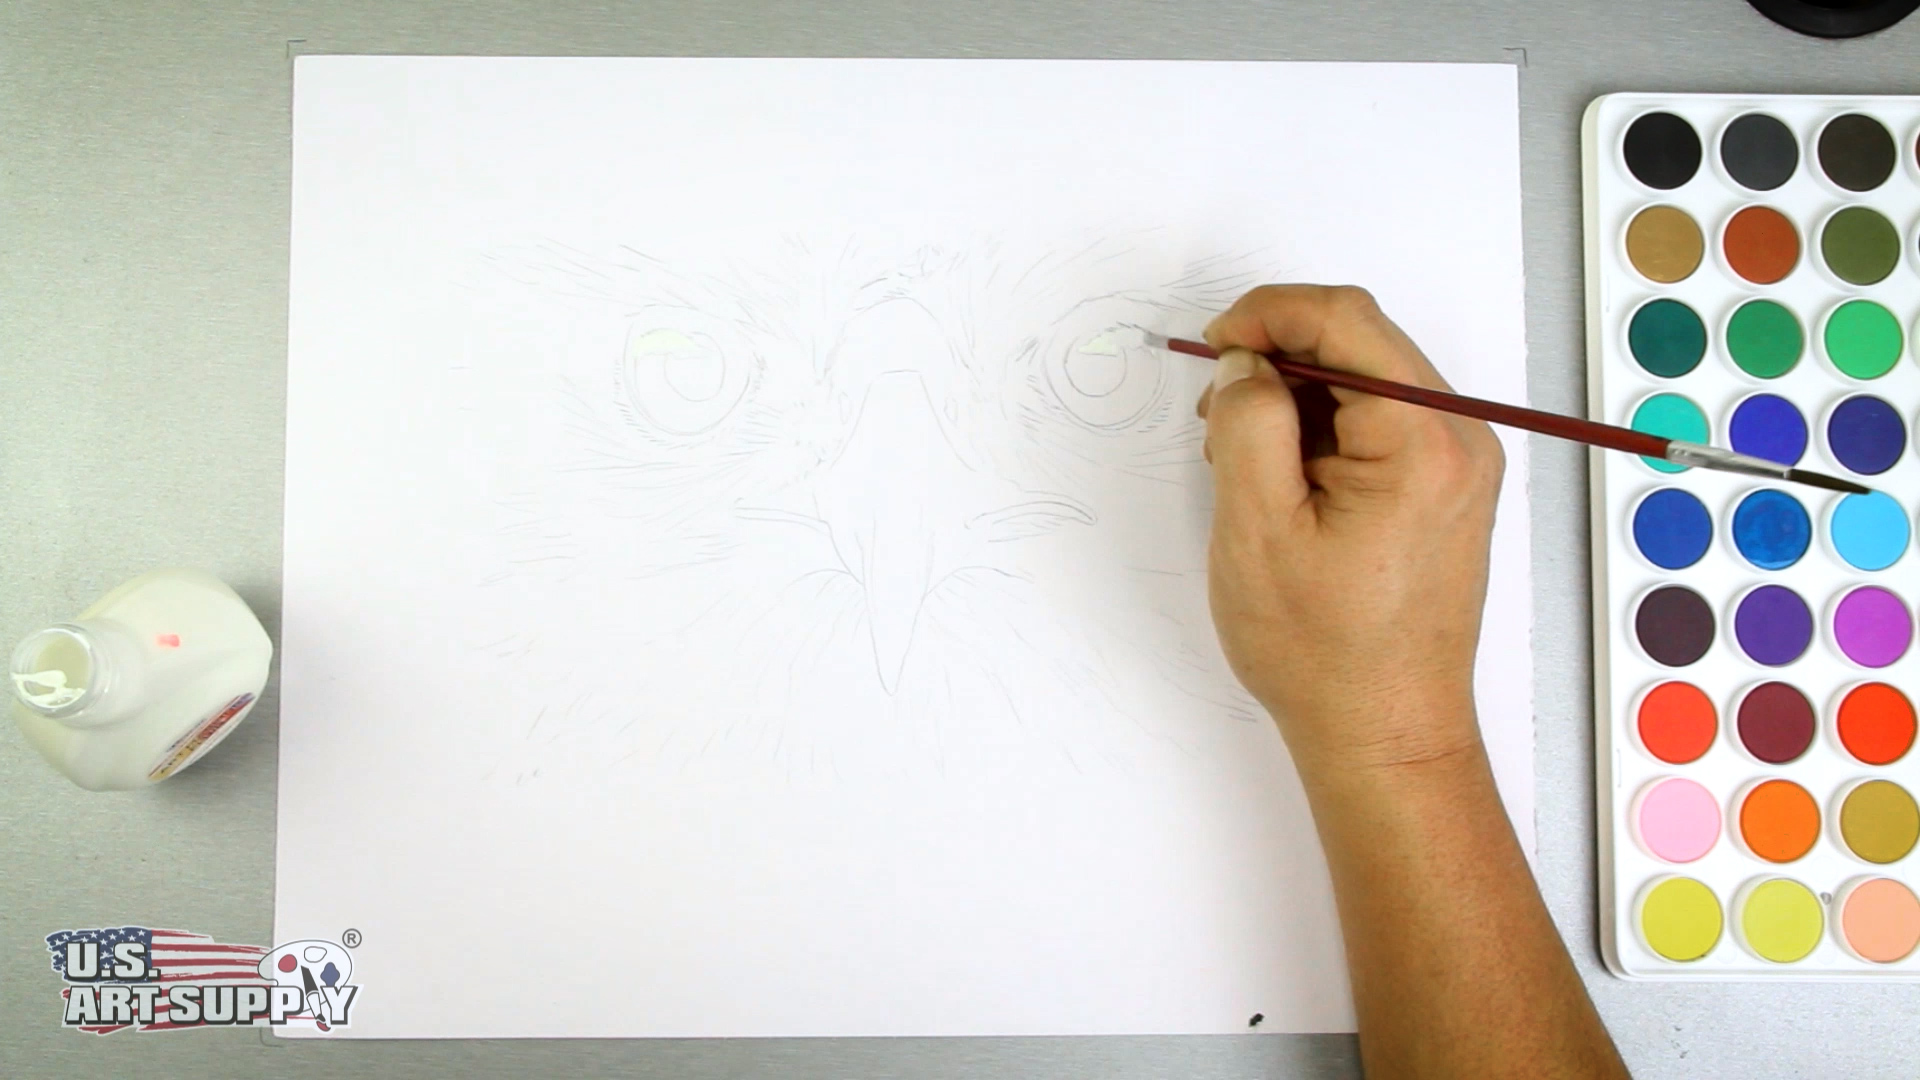
To start my bird, I used a pencil to sketch its beak, eyes, and feathers.
Step 2: Start with the Eyes
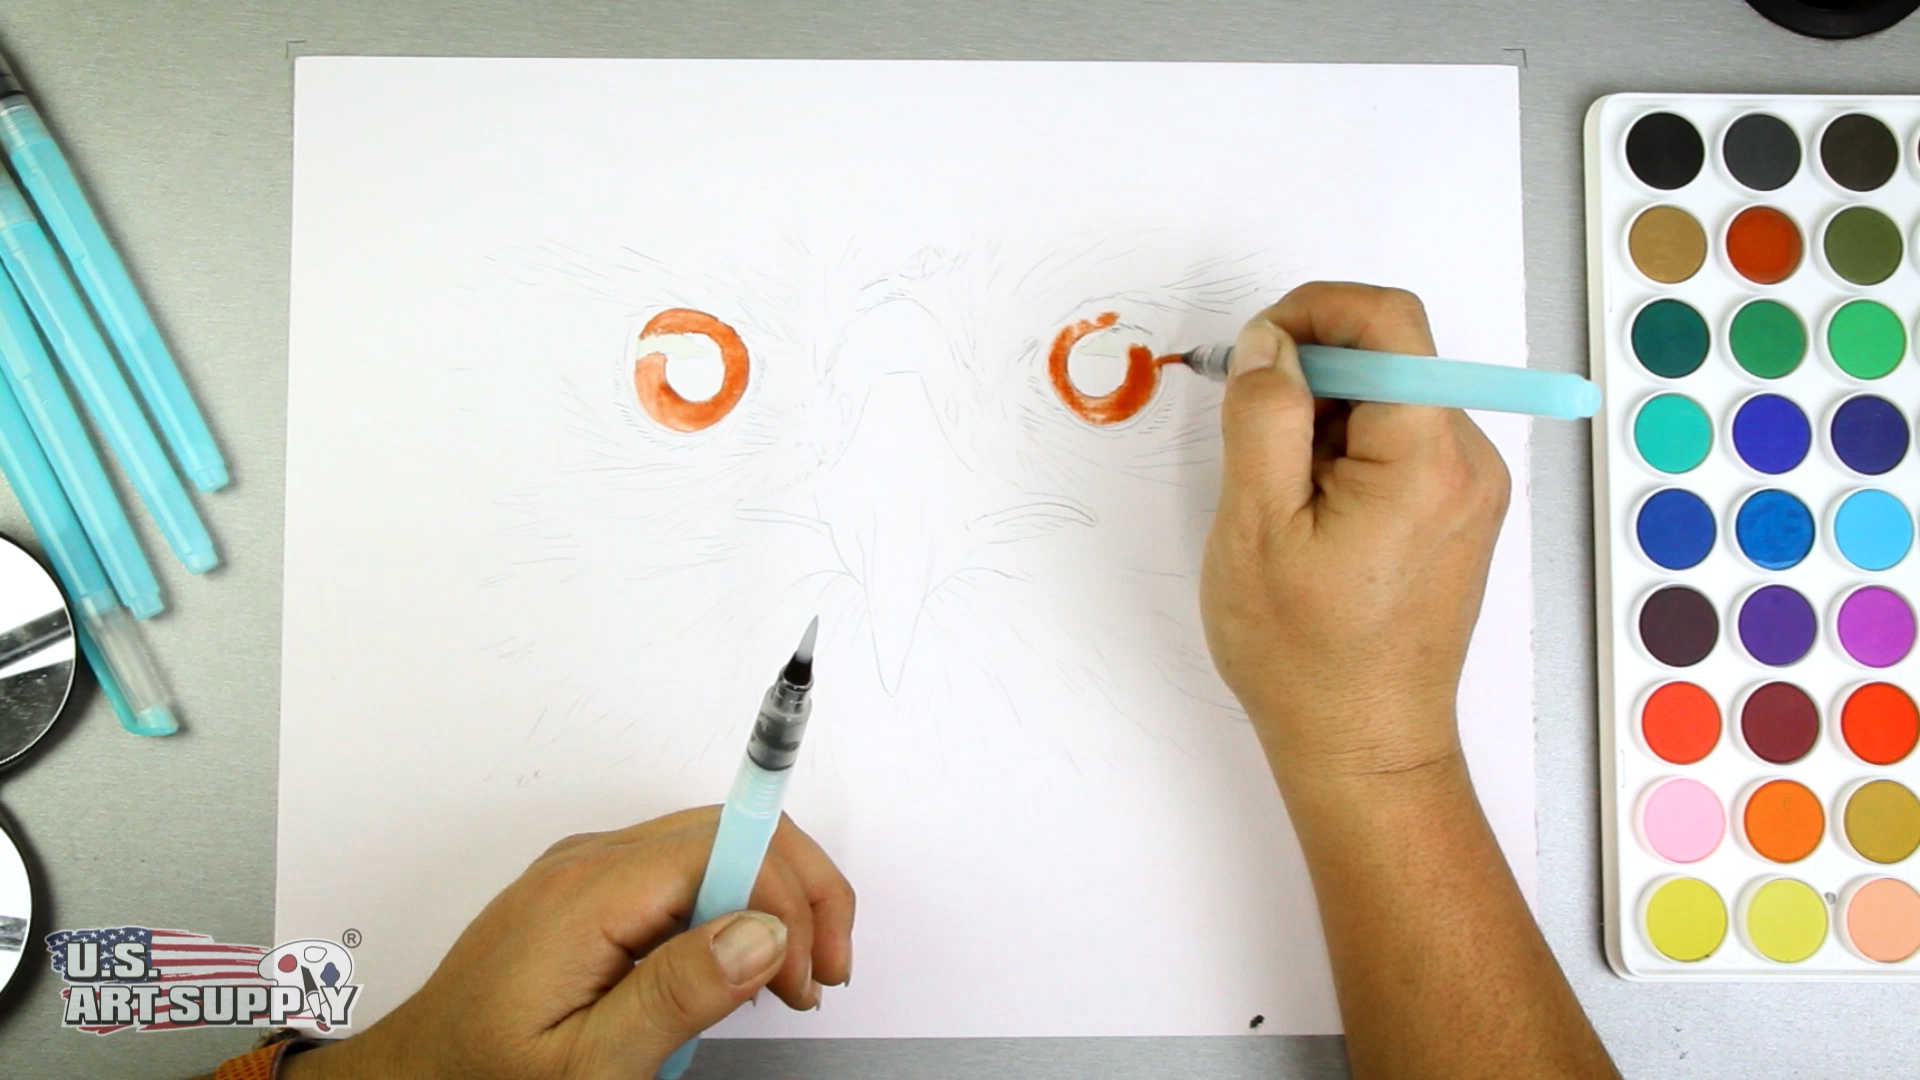
Then I start my colors with Burnt Sienna directly onto dry paper and I fill in the eyes leaving the iris blank for now.
Step 3: Then Beak
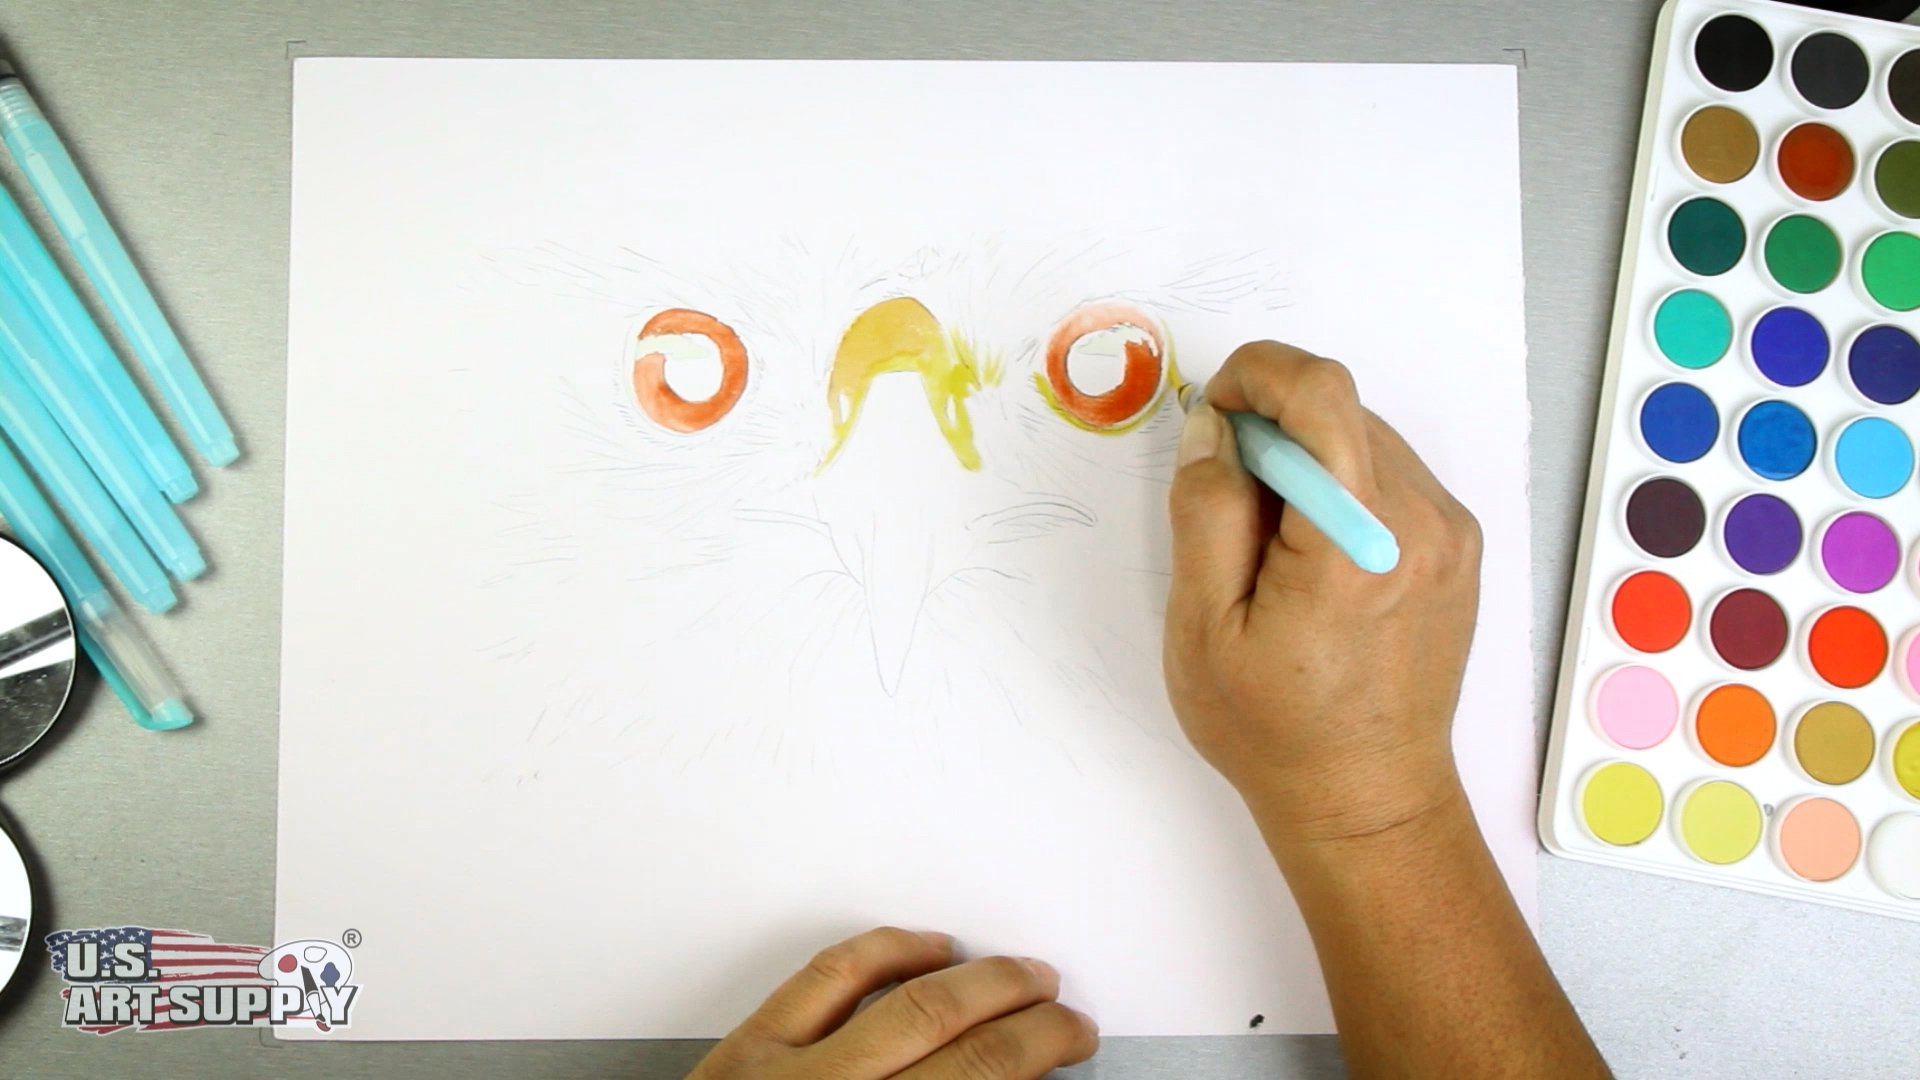
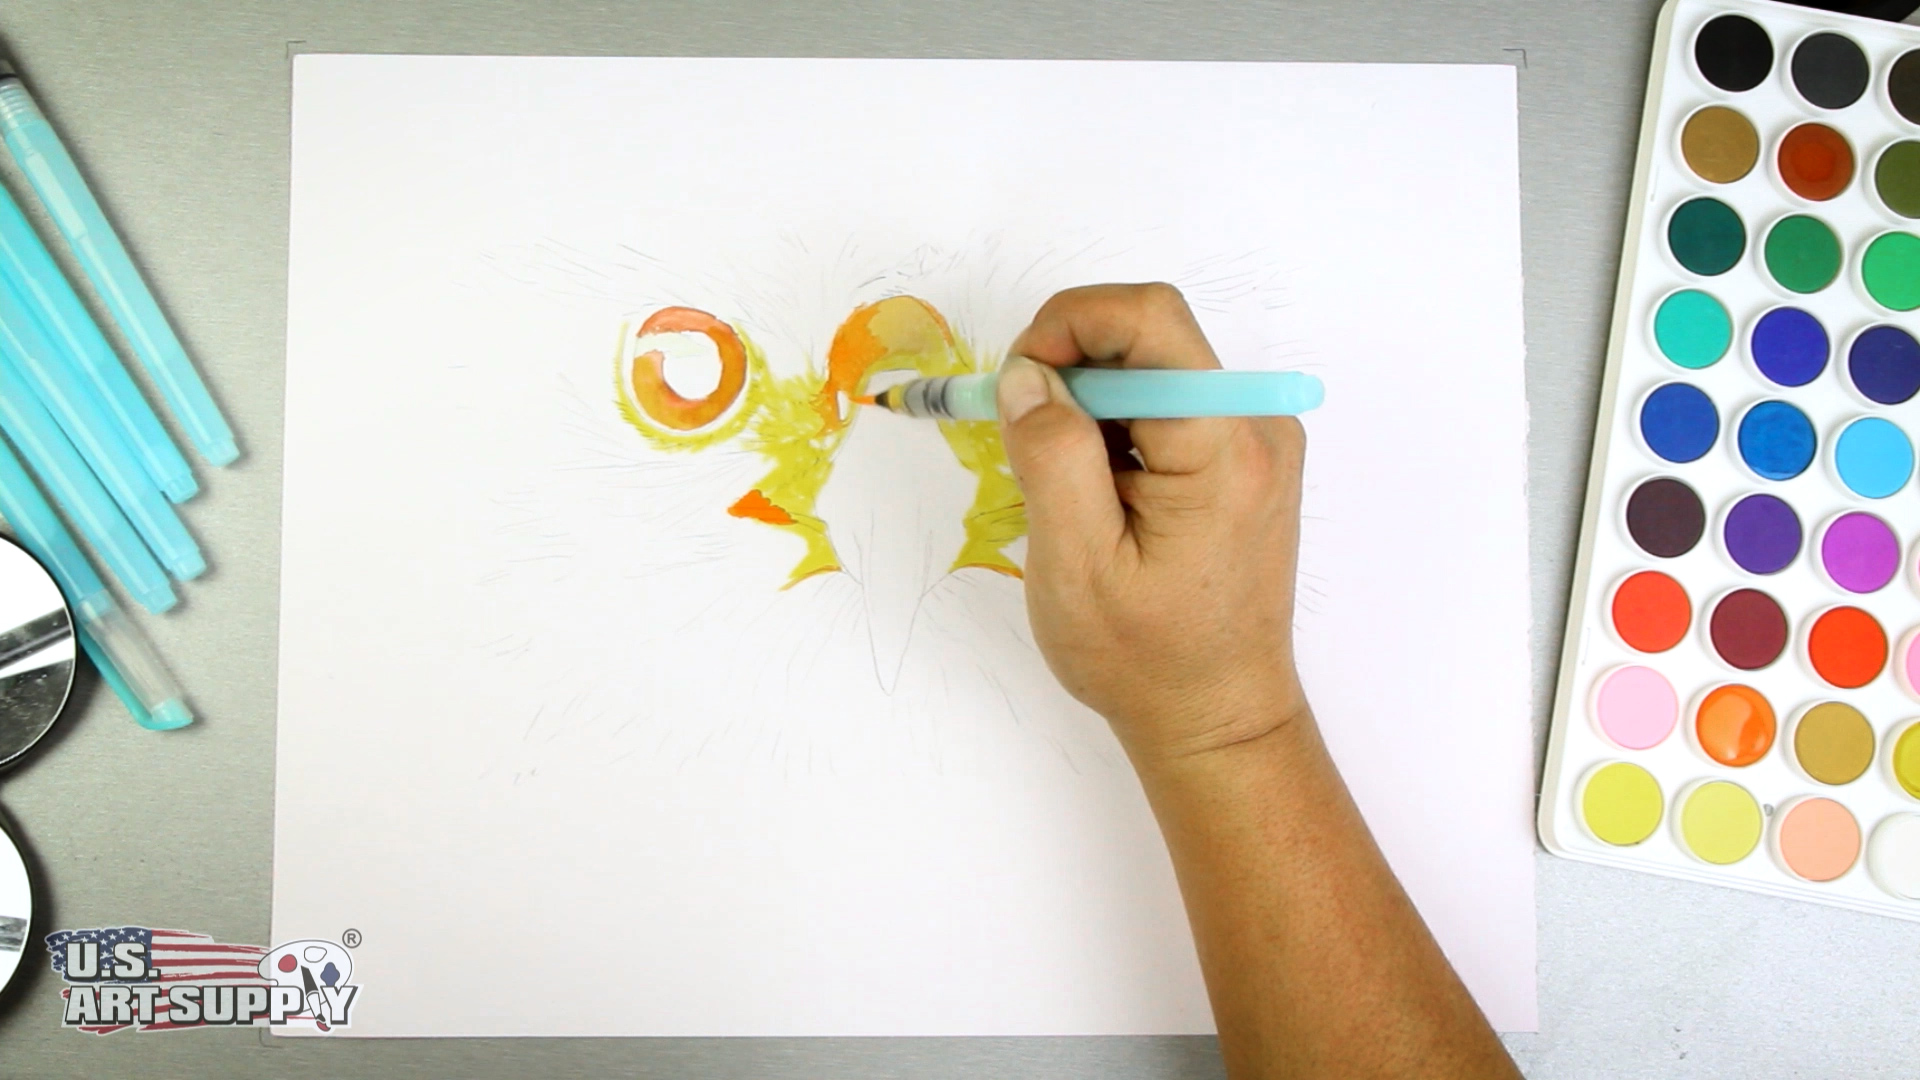
Now, I can add the yellow for a golden touch, for the beak and head and I even add a little to the eyes.
Step 4: Add Beak Details
Orange can be added to the wet yellow paint around the beak, and mouth.
Step 5: Small Feathers
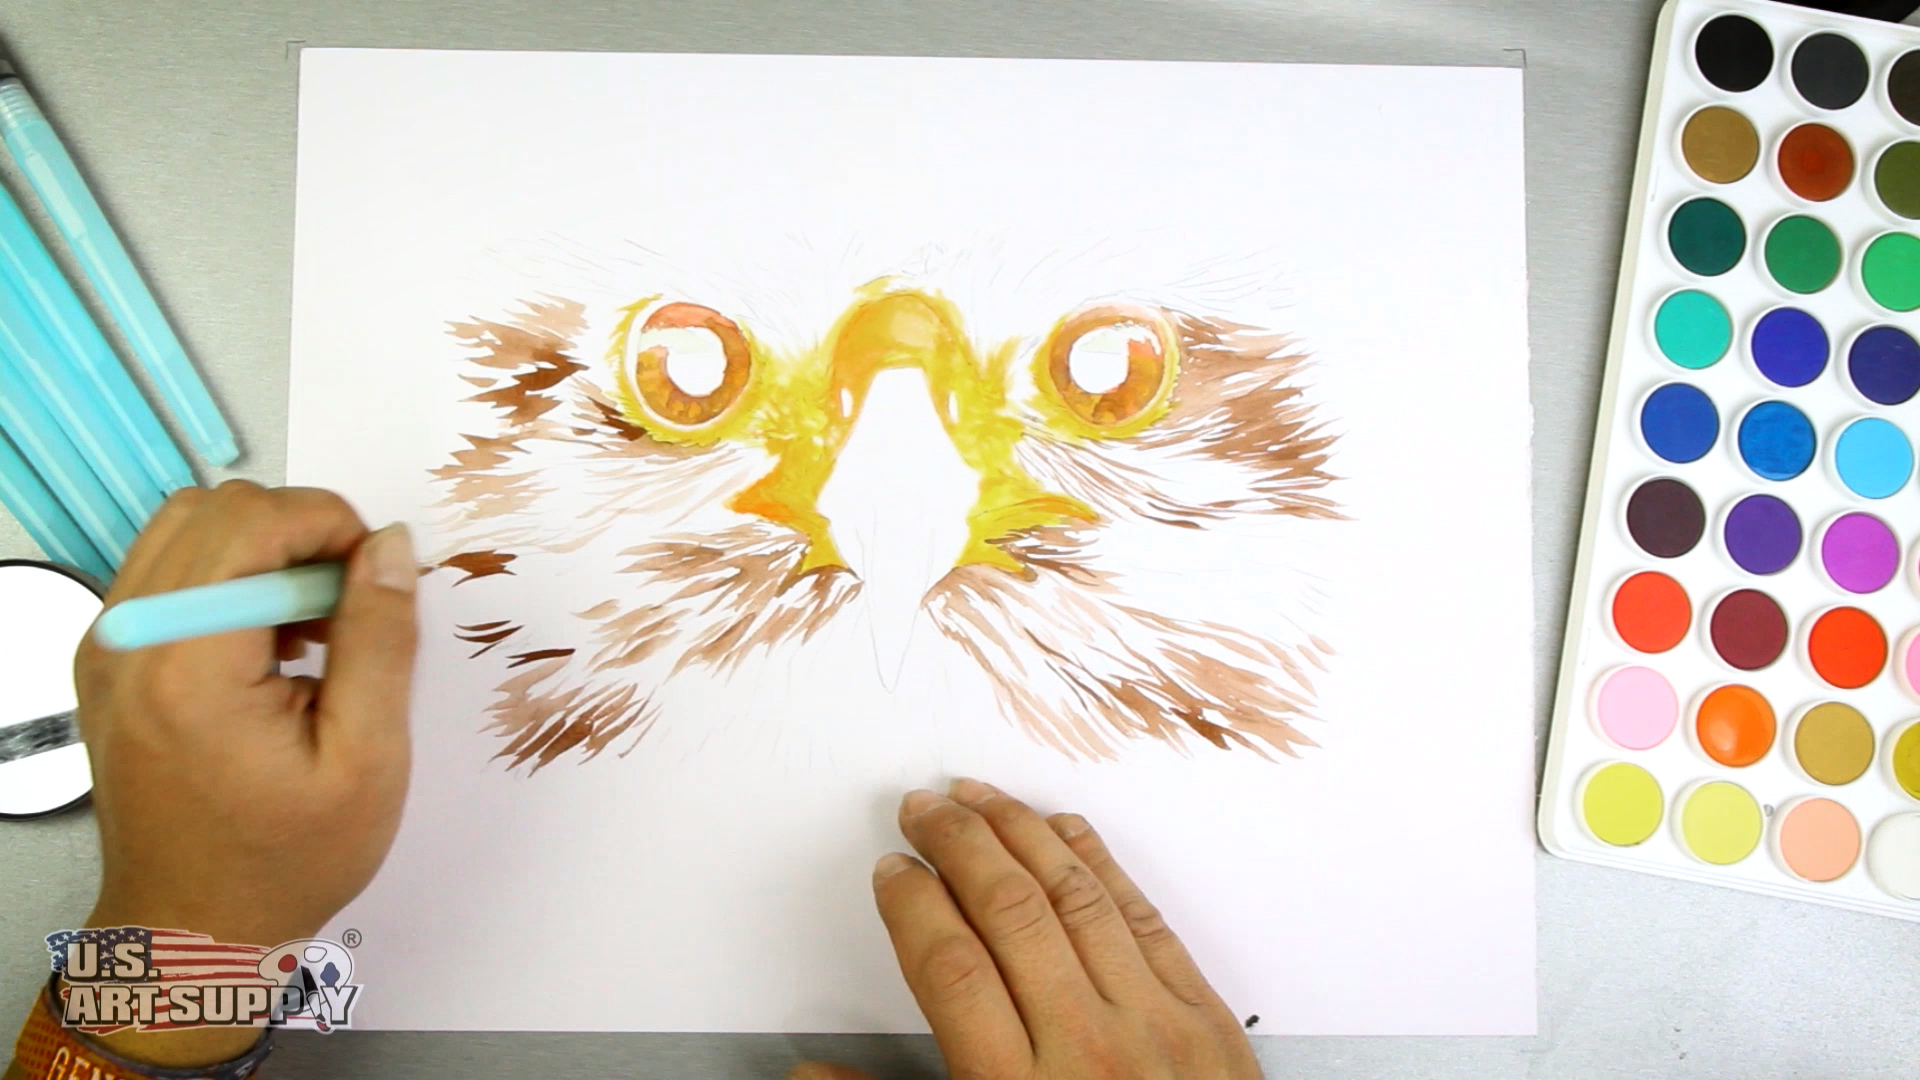
Here, I am adding some Brown to my Eagle’s eyes for some marbling effects that Eagle eyes possess. Then, I can continue to the Brown color as shading on the tiny little feathers they have on their head and neck.
Step 6: More Detailing
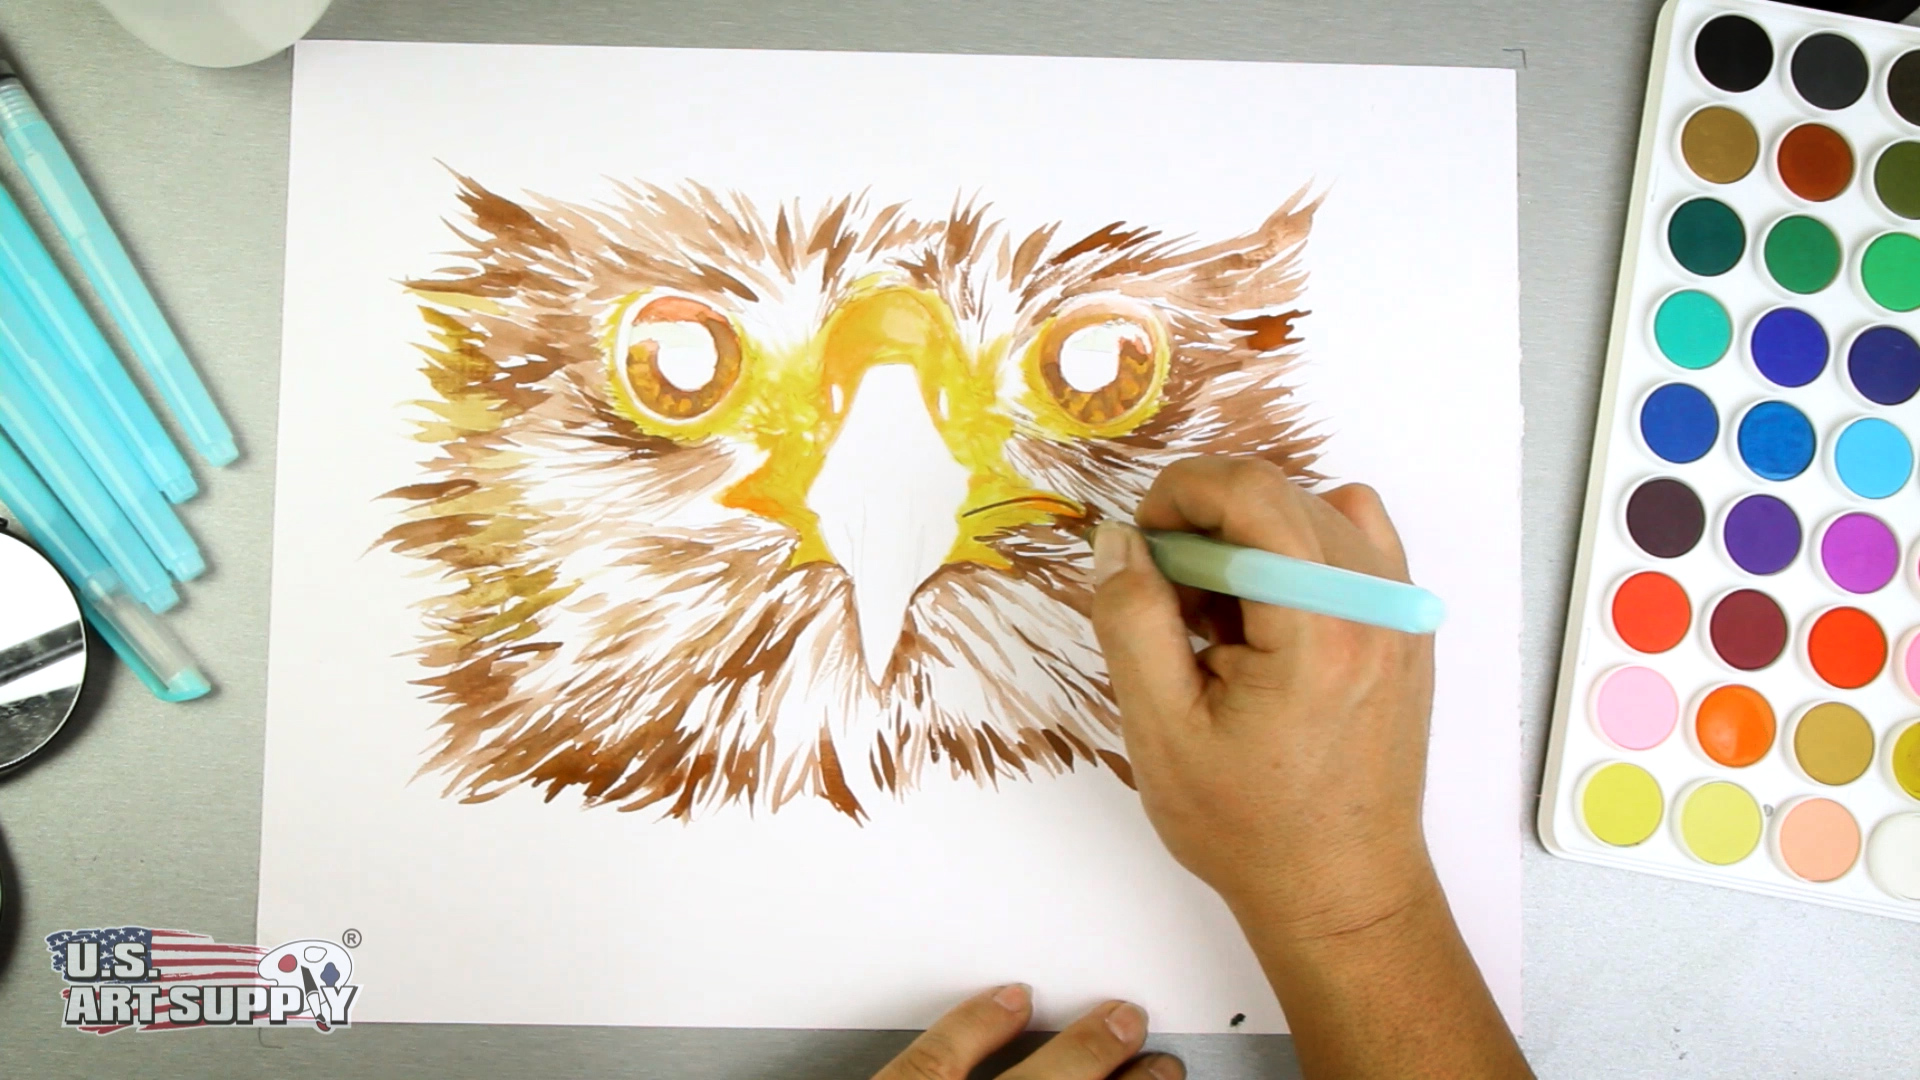
Using a Dark Brown, I can create some more details around the mouth, eyes and feathers.
Step 7: Line Details
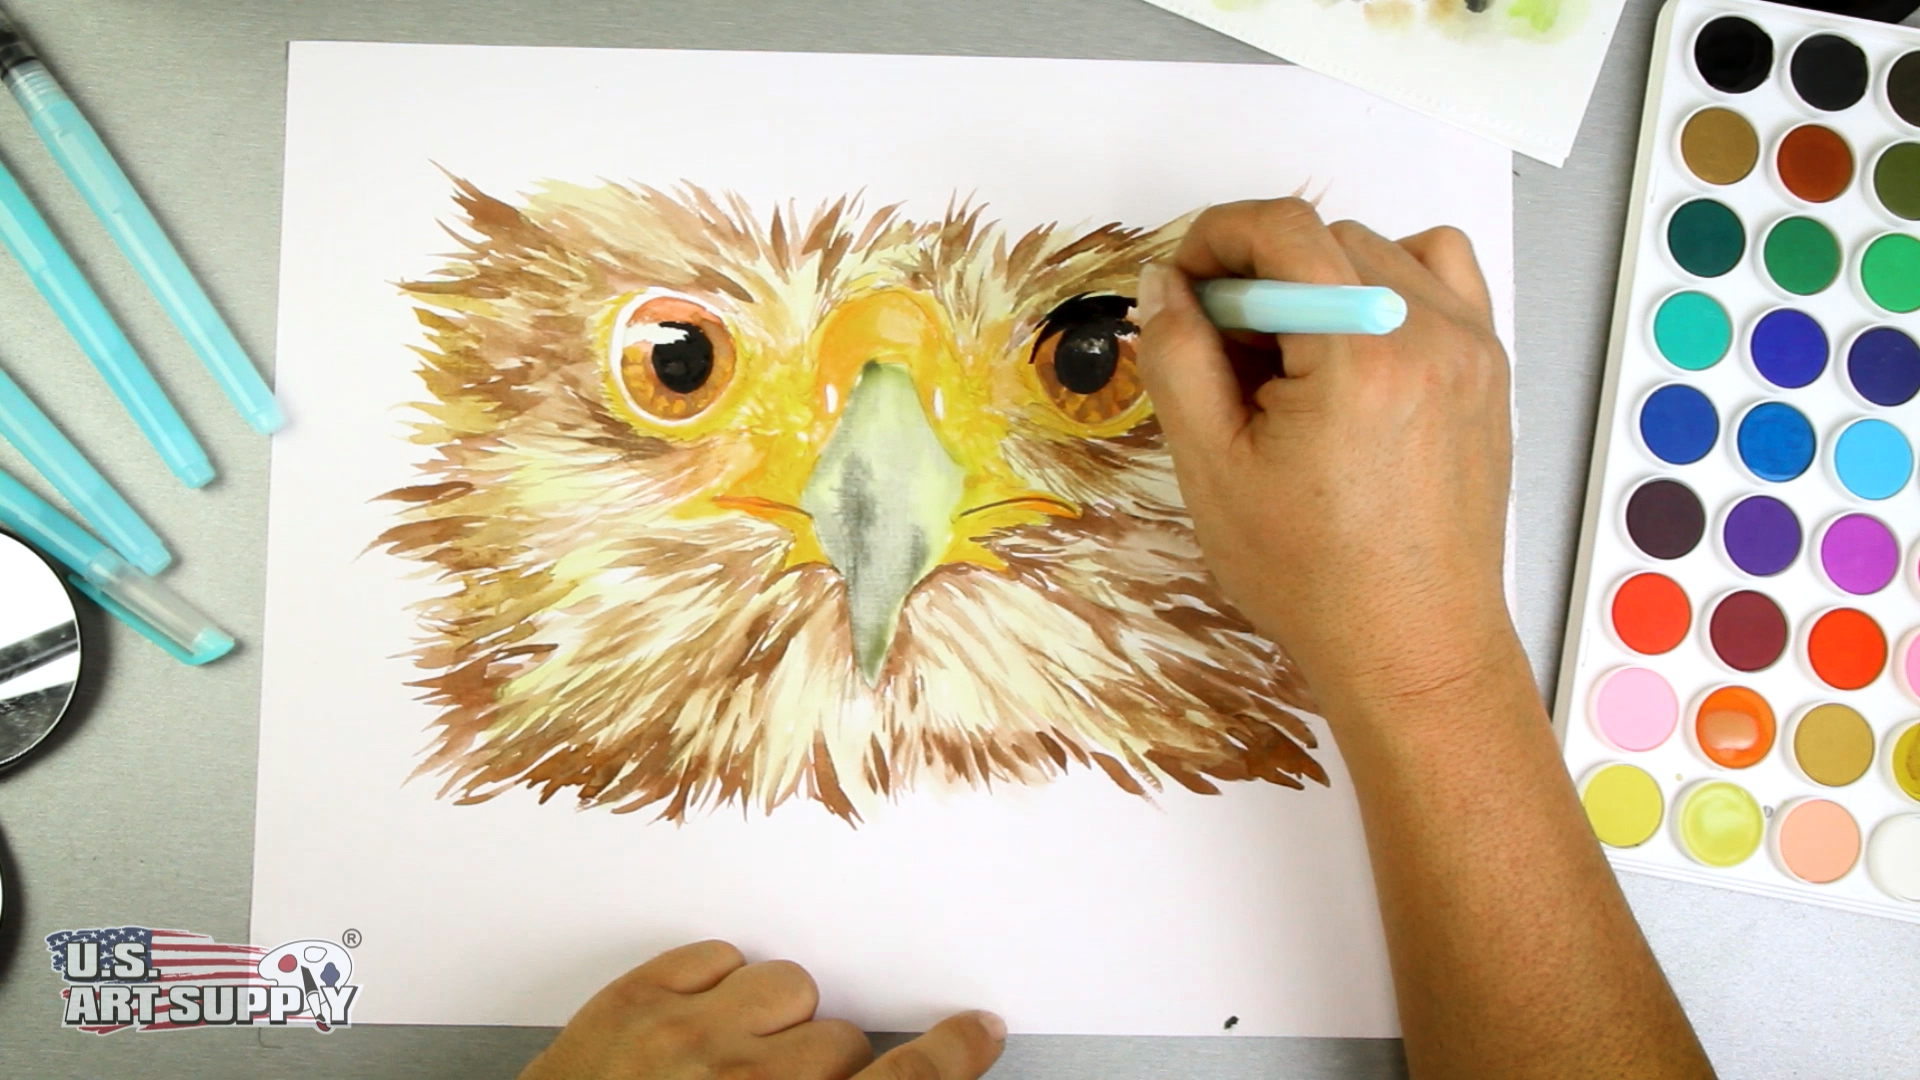
For the real magic in my painting, I use black to fill the iris of the eyes, the eyelids, nostrils, the beak and the mouth.
Step 8: Finishing Touches
Time for the black. I draw in lines separating the feathers from each other. I then add the black to the darkest areas around the eyes, the beak, nostrils and tail feathers. This final touch really makes the drawing pop as the contrast is required to define the bird’s anatomy.
Thanks for creating with me today and join us again for another fun U.S. Art Supply tutorial.
