How-to-Paint A Hummingbird Using Acrylic

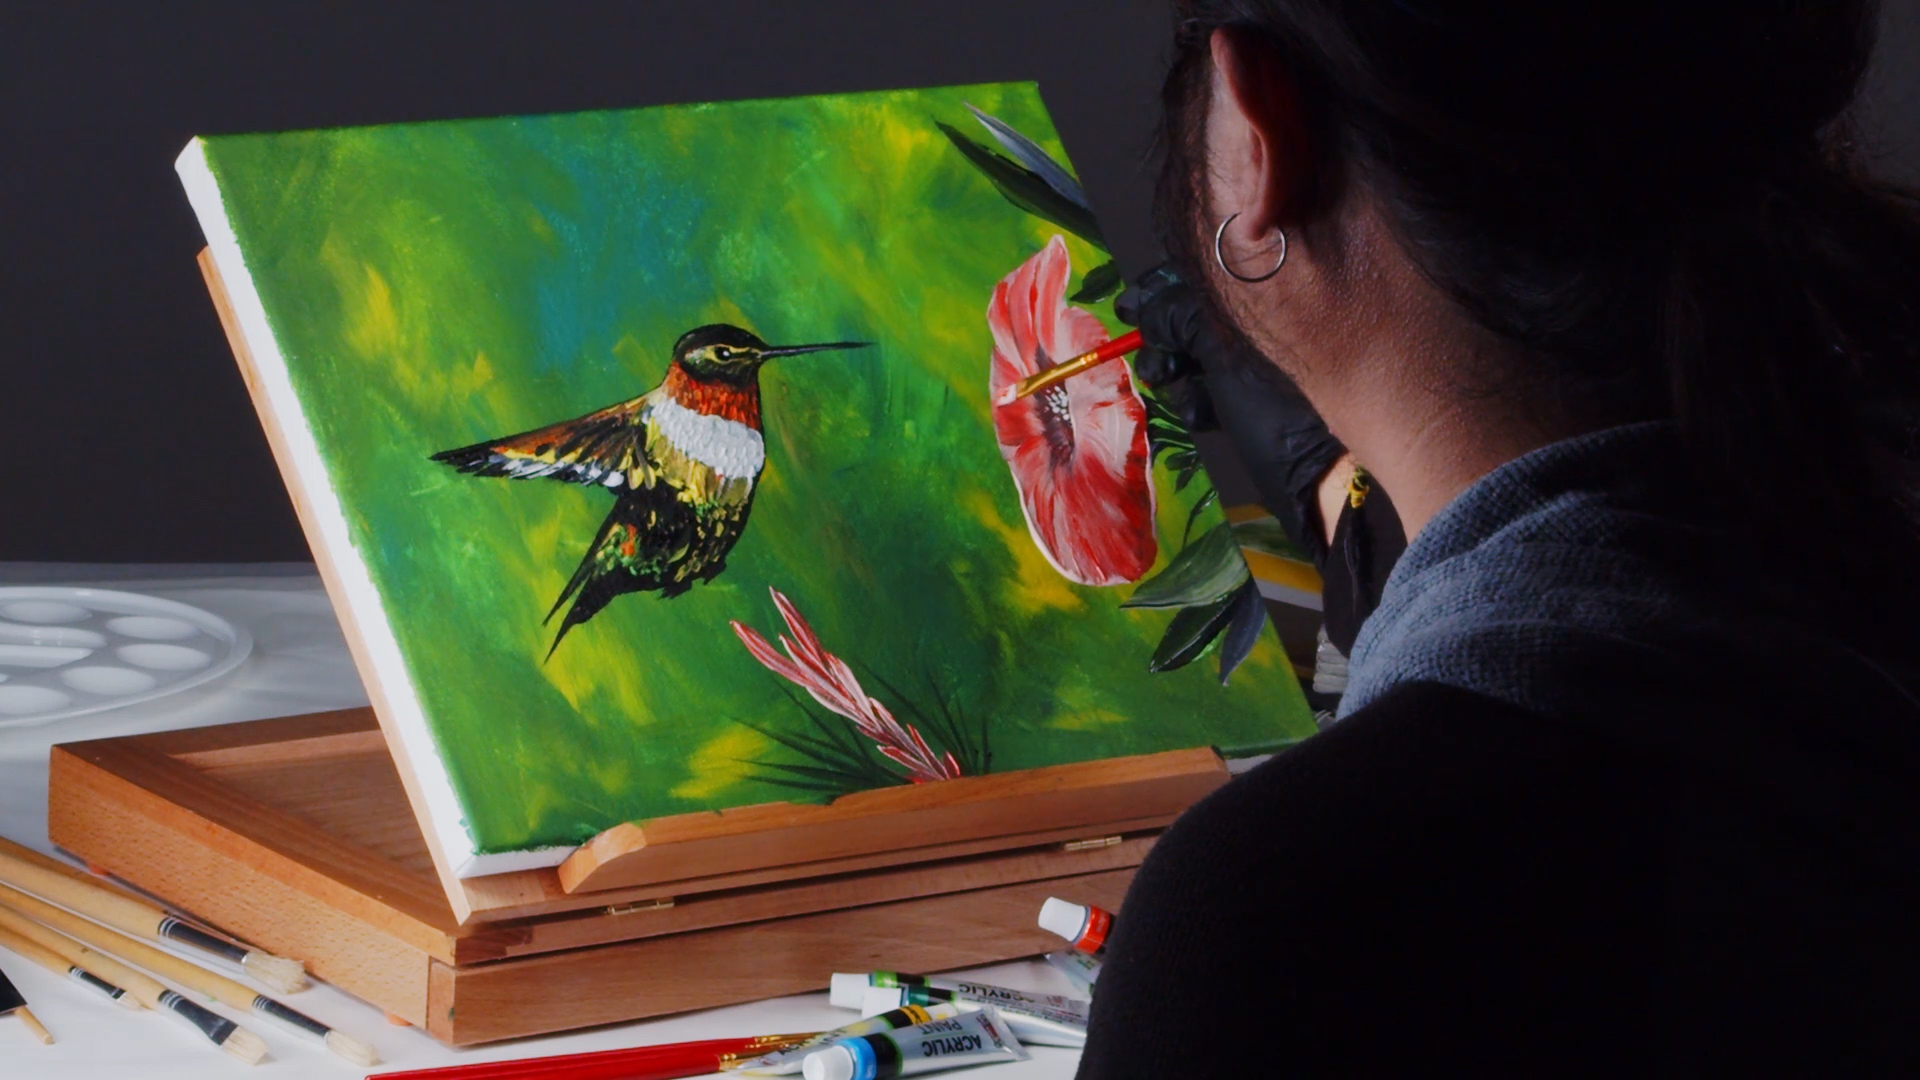
Today, I will be creating very colorful Ruby throat Hummingbird drinking nectar from an equally colorful flower. Acrylic paints are super fun and they dry fast. You can create amazing wildlife paintings using acrylic paints and a very simple setup. So, let’s get to it!
What You'll Need
Acrylic Paint
- Bright Yellow
- Light Green
- Dark Green
- Aqua Blue
- Yellow
- Black
- White
- Bright Red
- Orange
- Pink
Other Supplies
- Flat Brush
- Small Flat Brush
- Canvas
- Desk Easel
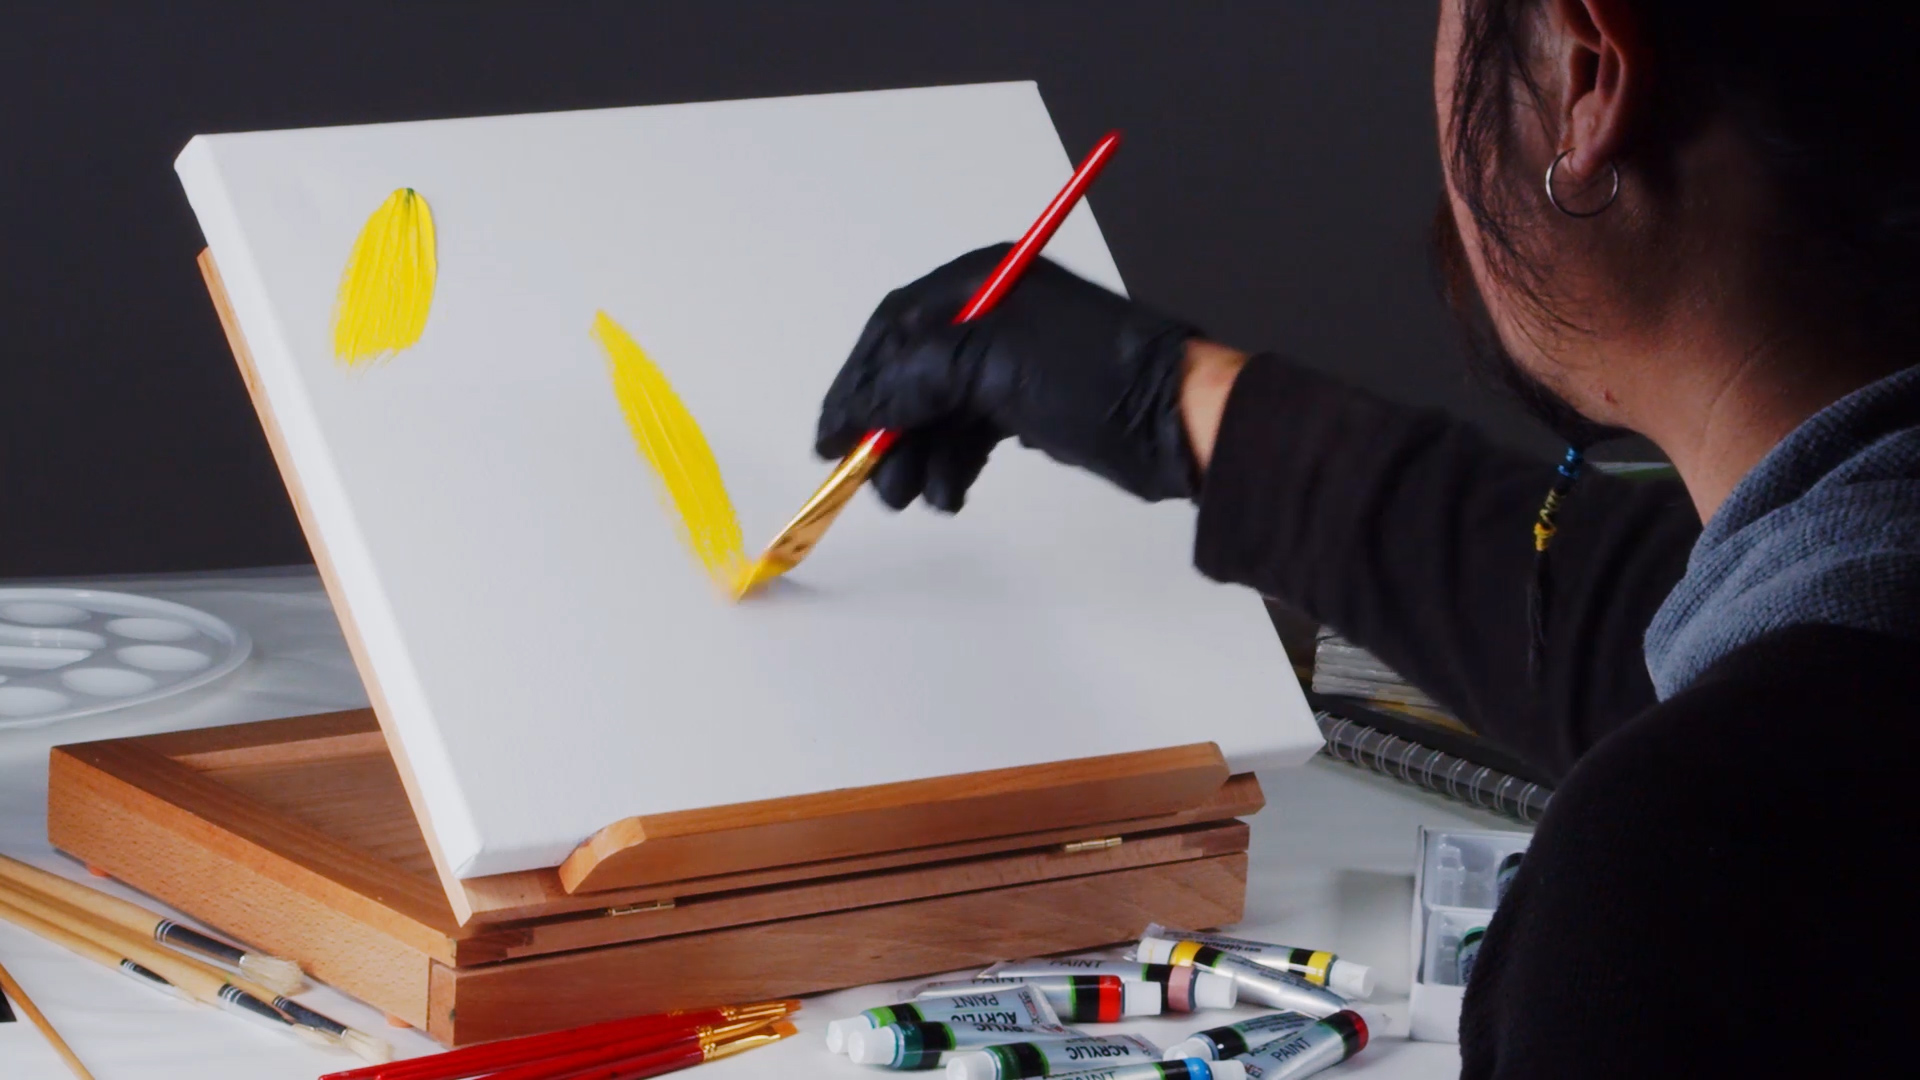
Step 1: Starting the Background
To begin, I want to only work on the background. So, I start by Slapping on some bright Yellow.
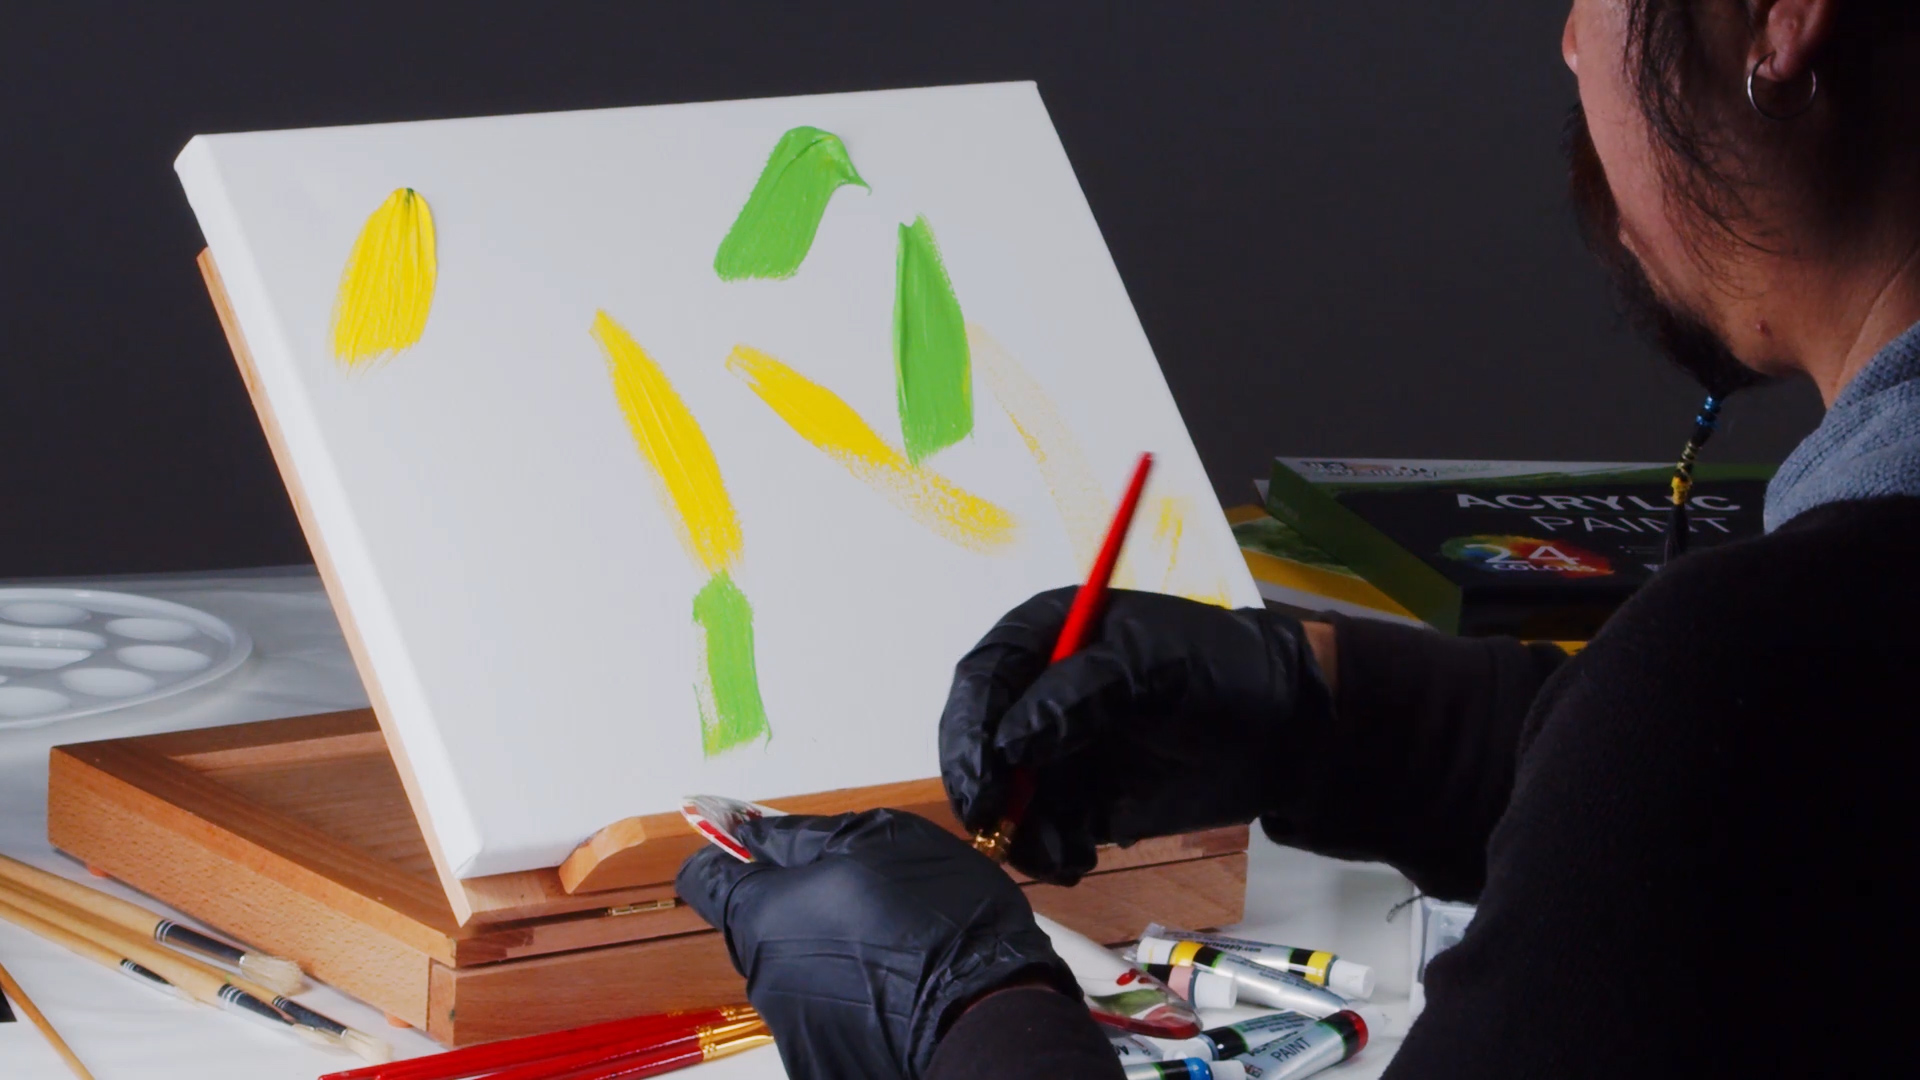
Step 2: Add Light Green
Once you have his head is in place, you can start to sketch out his cape, giving yourself a good idea of where his broad shoulders will go.
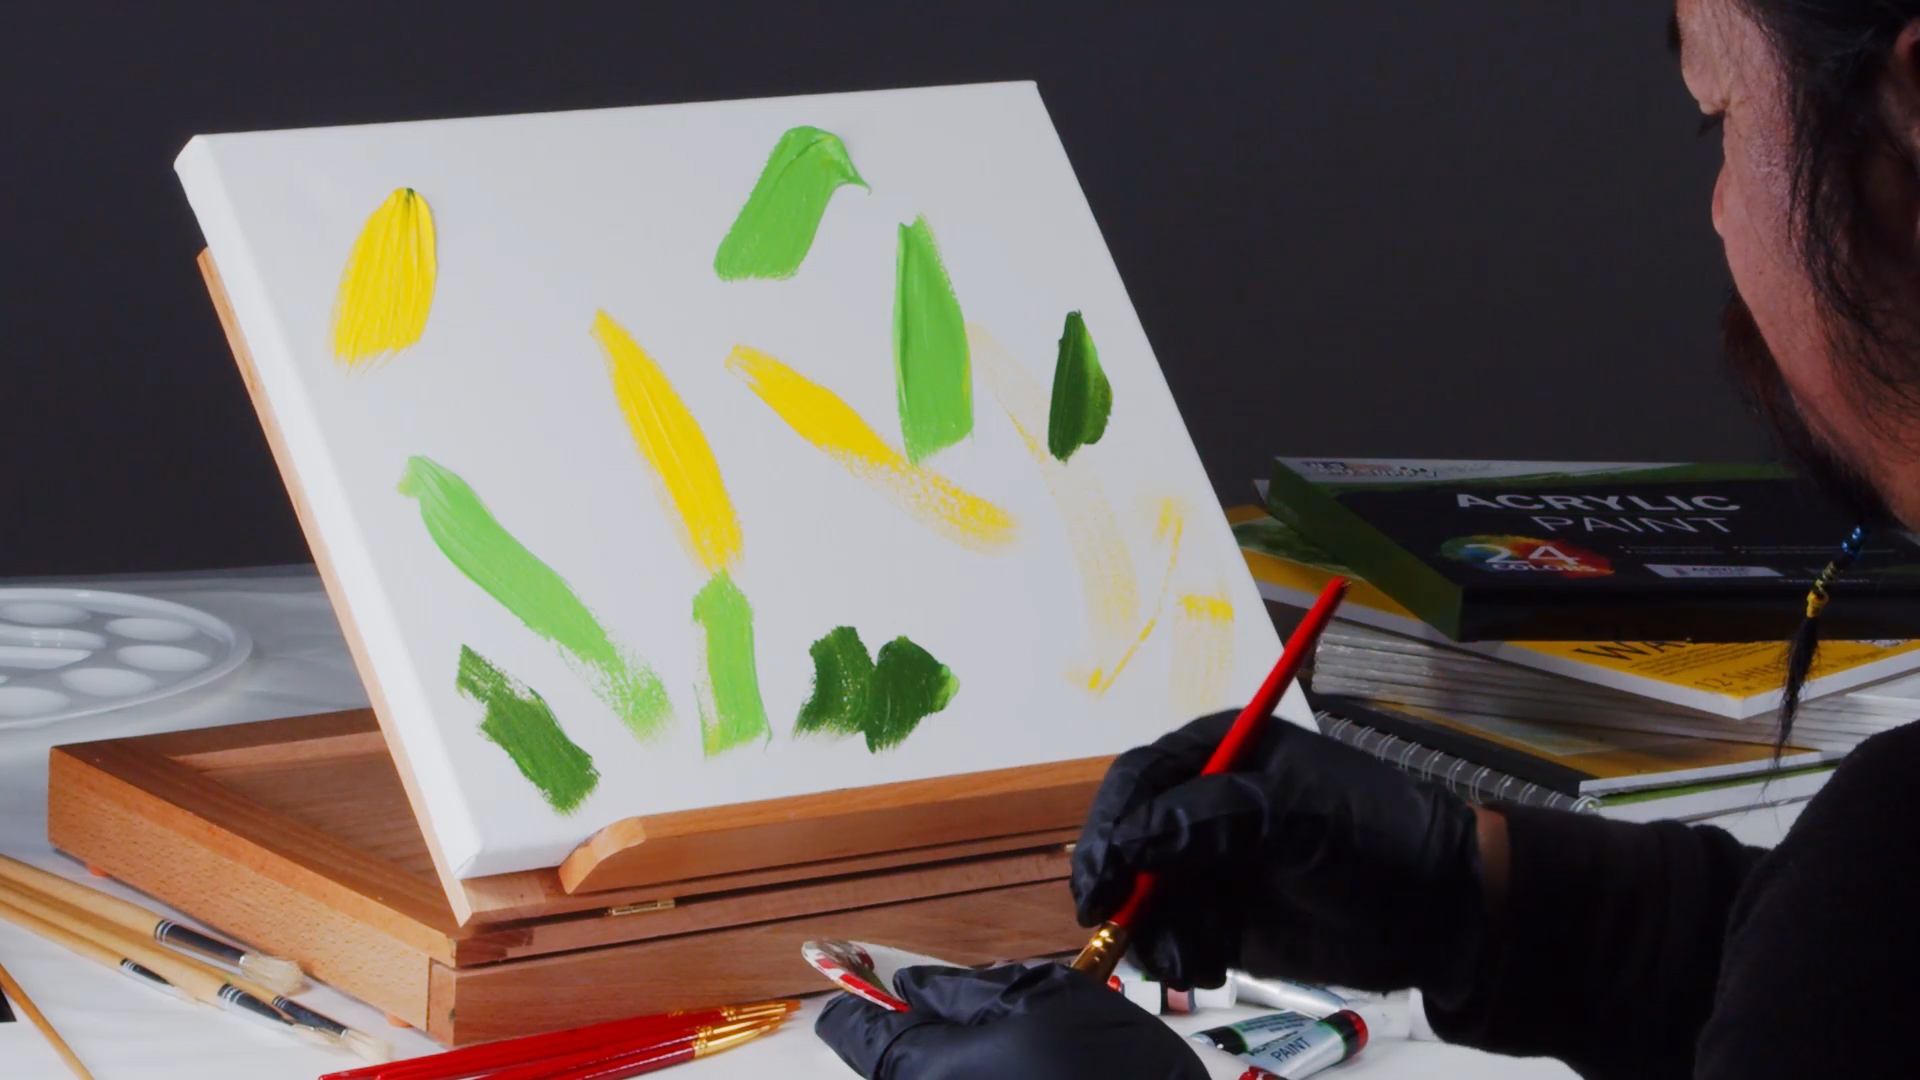
Step 3: Add Dark Green
Now, sketch in the armor over his shoulders and chest. Build up the highlights and gradually the shadows will begin to appear, the same way you create highlights by shading.
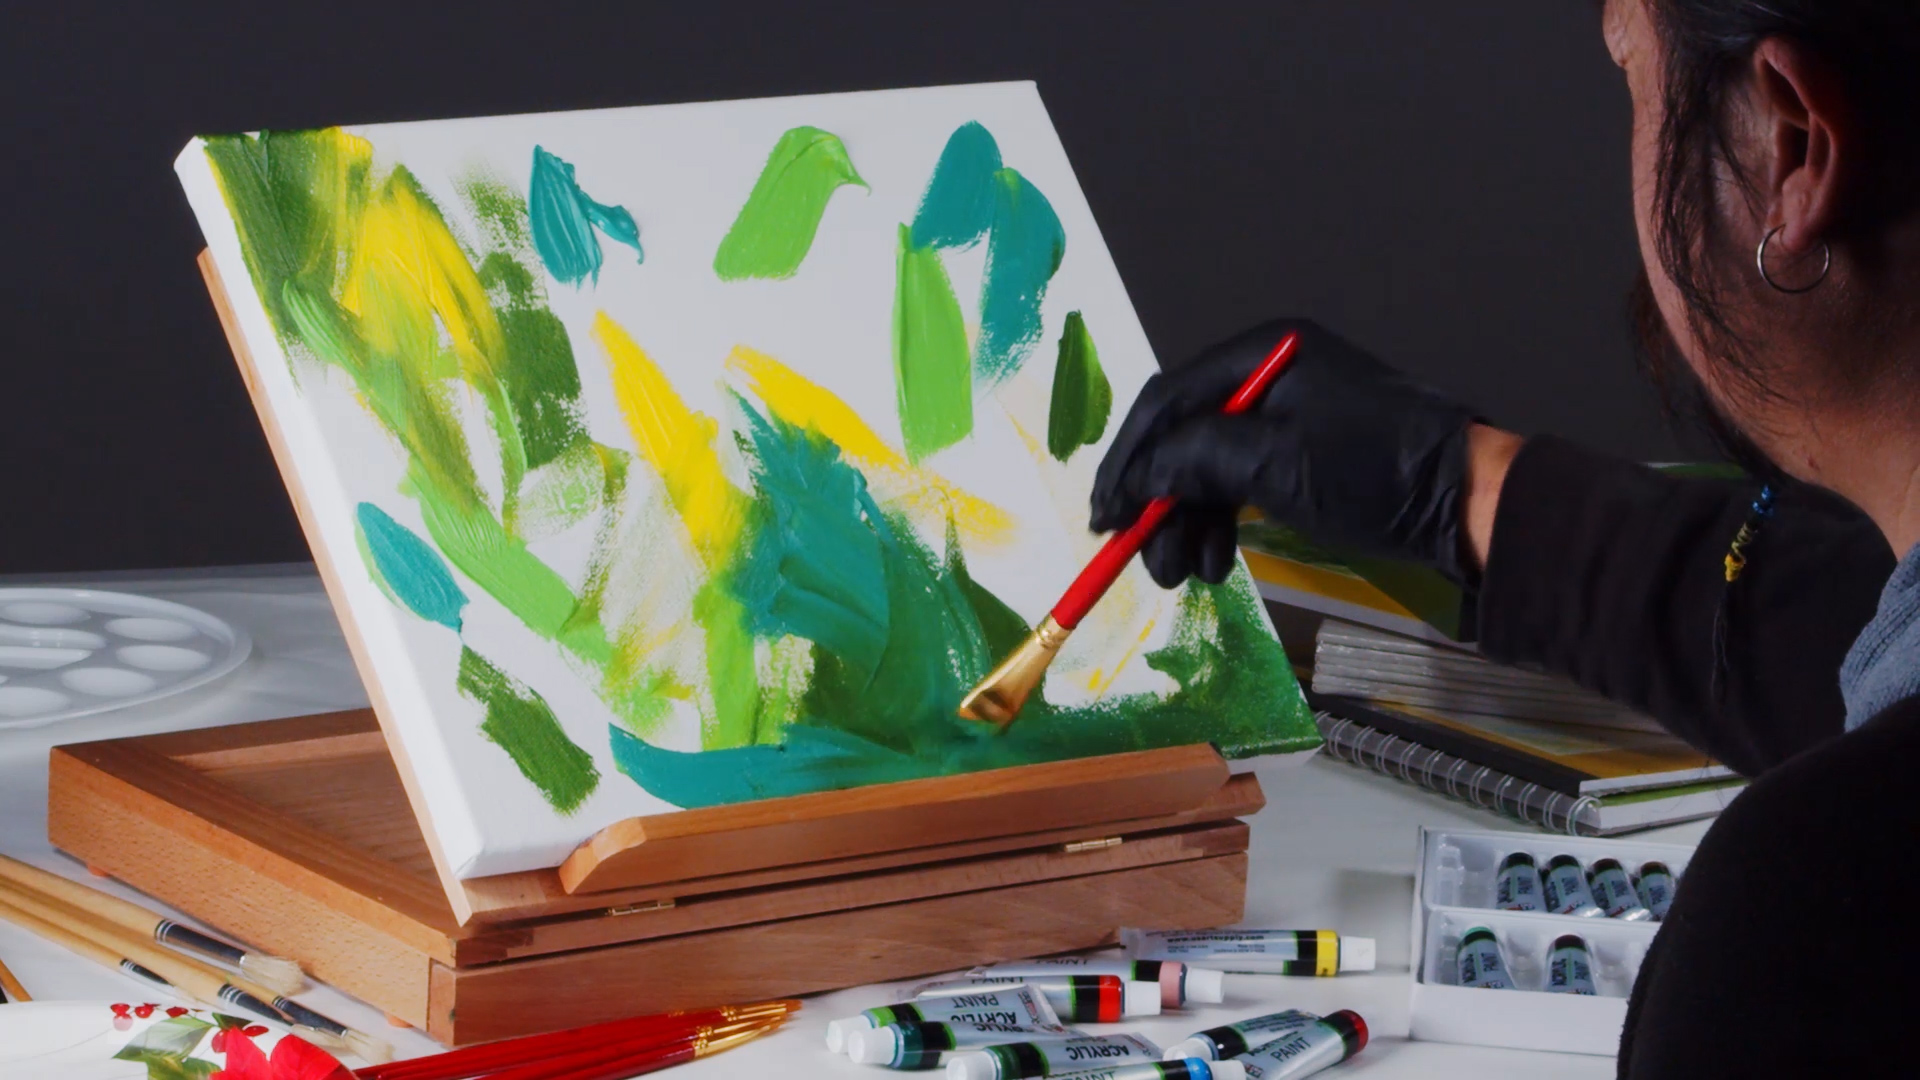
Step 4: Add Aqua Blue
Now, some Aqua Blue and I can begin blending all the colors together. I am using a criss-cross style strokes all over and letting the colors blend naturally.
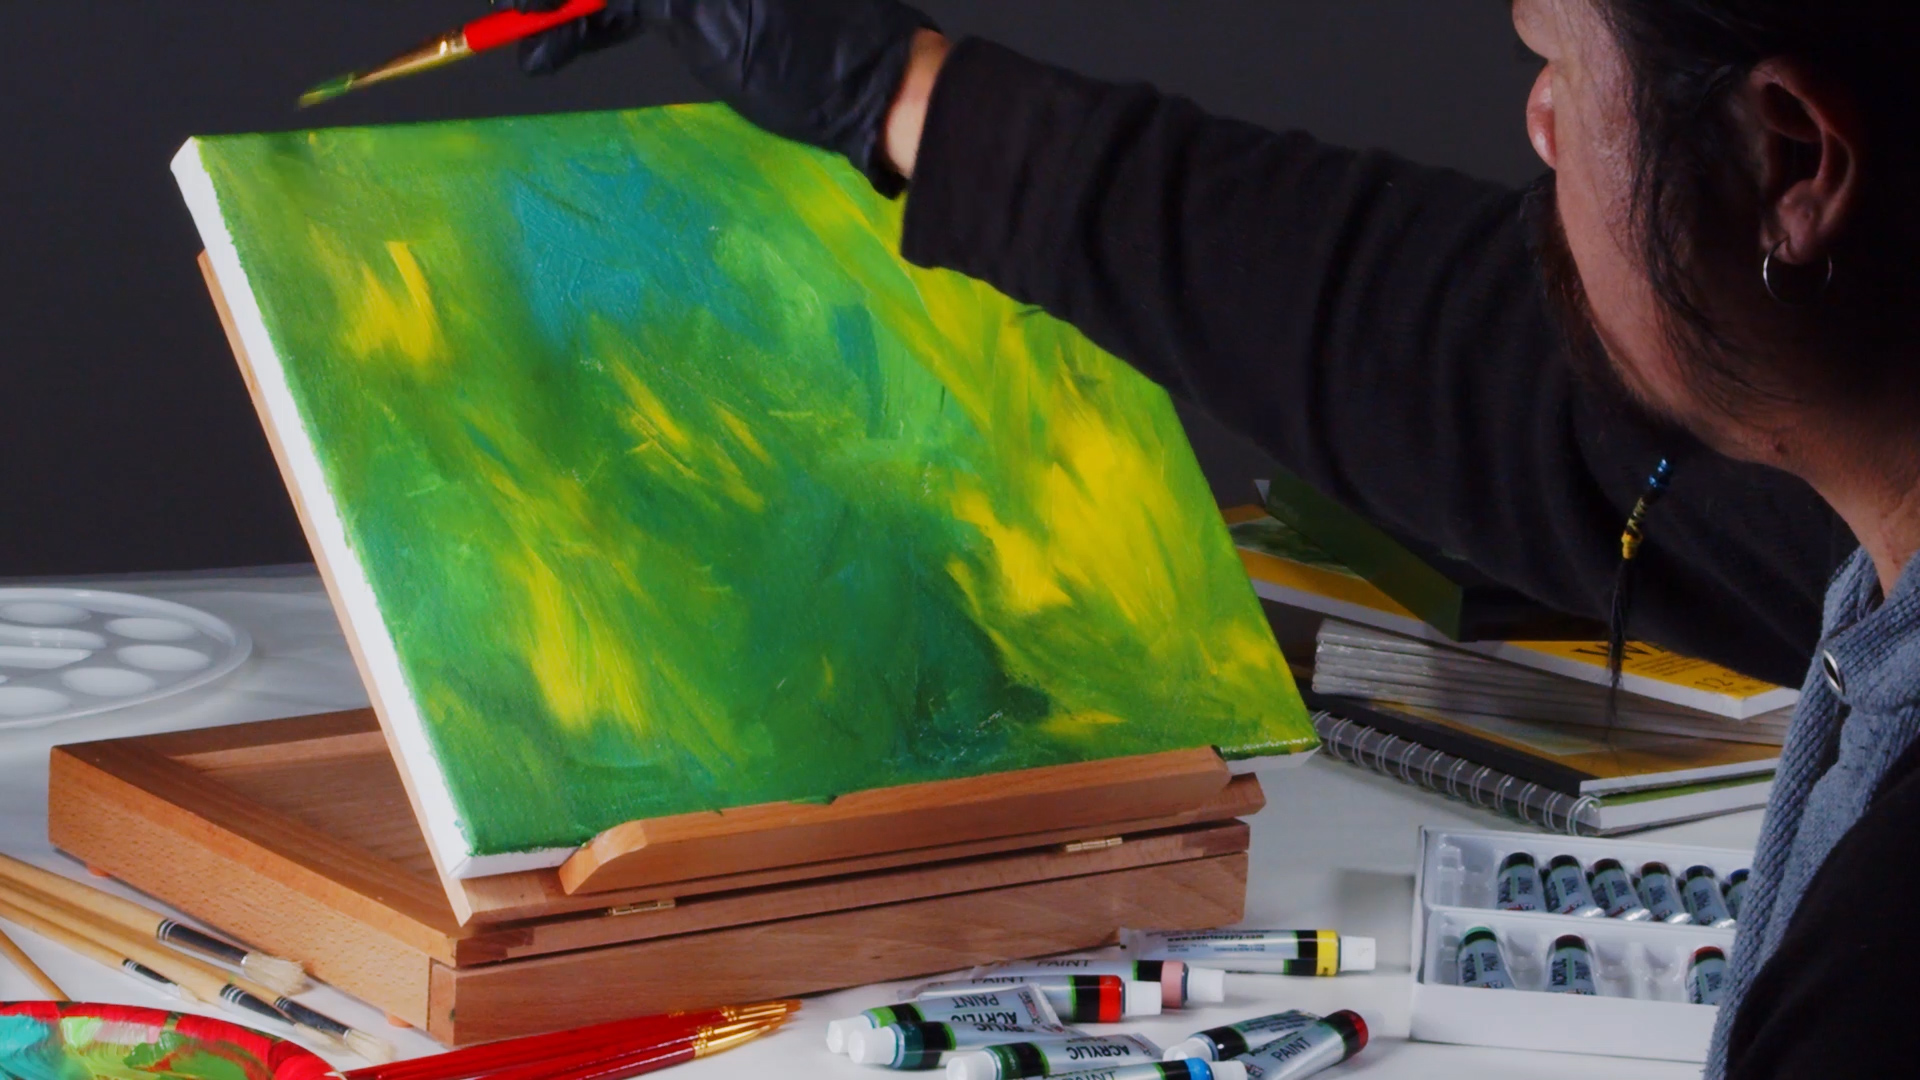
Step 5: Add Yellow
I add a little color back into the background by applying some more Yellow. While the entire background is still wet, you can easily blend it all together.
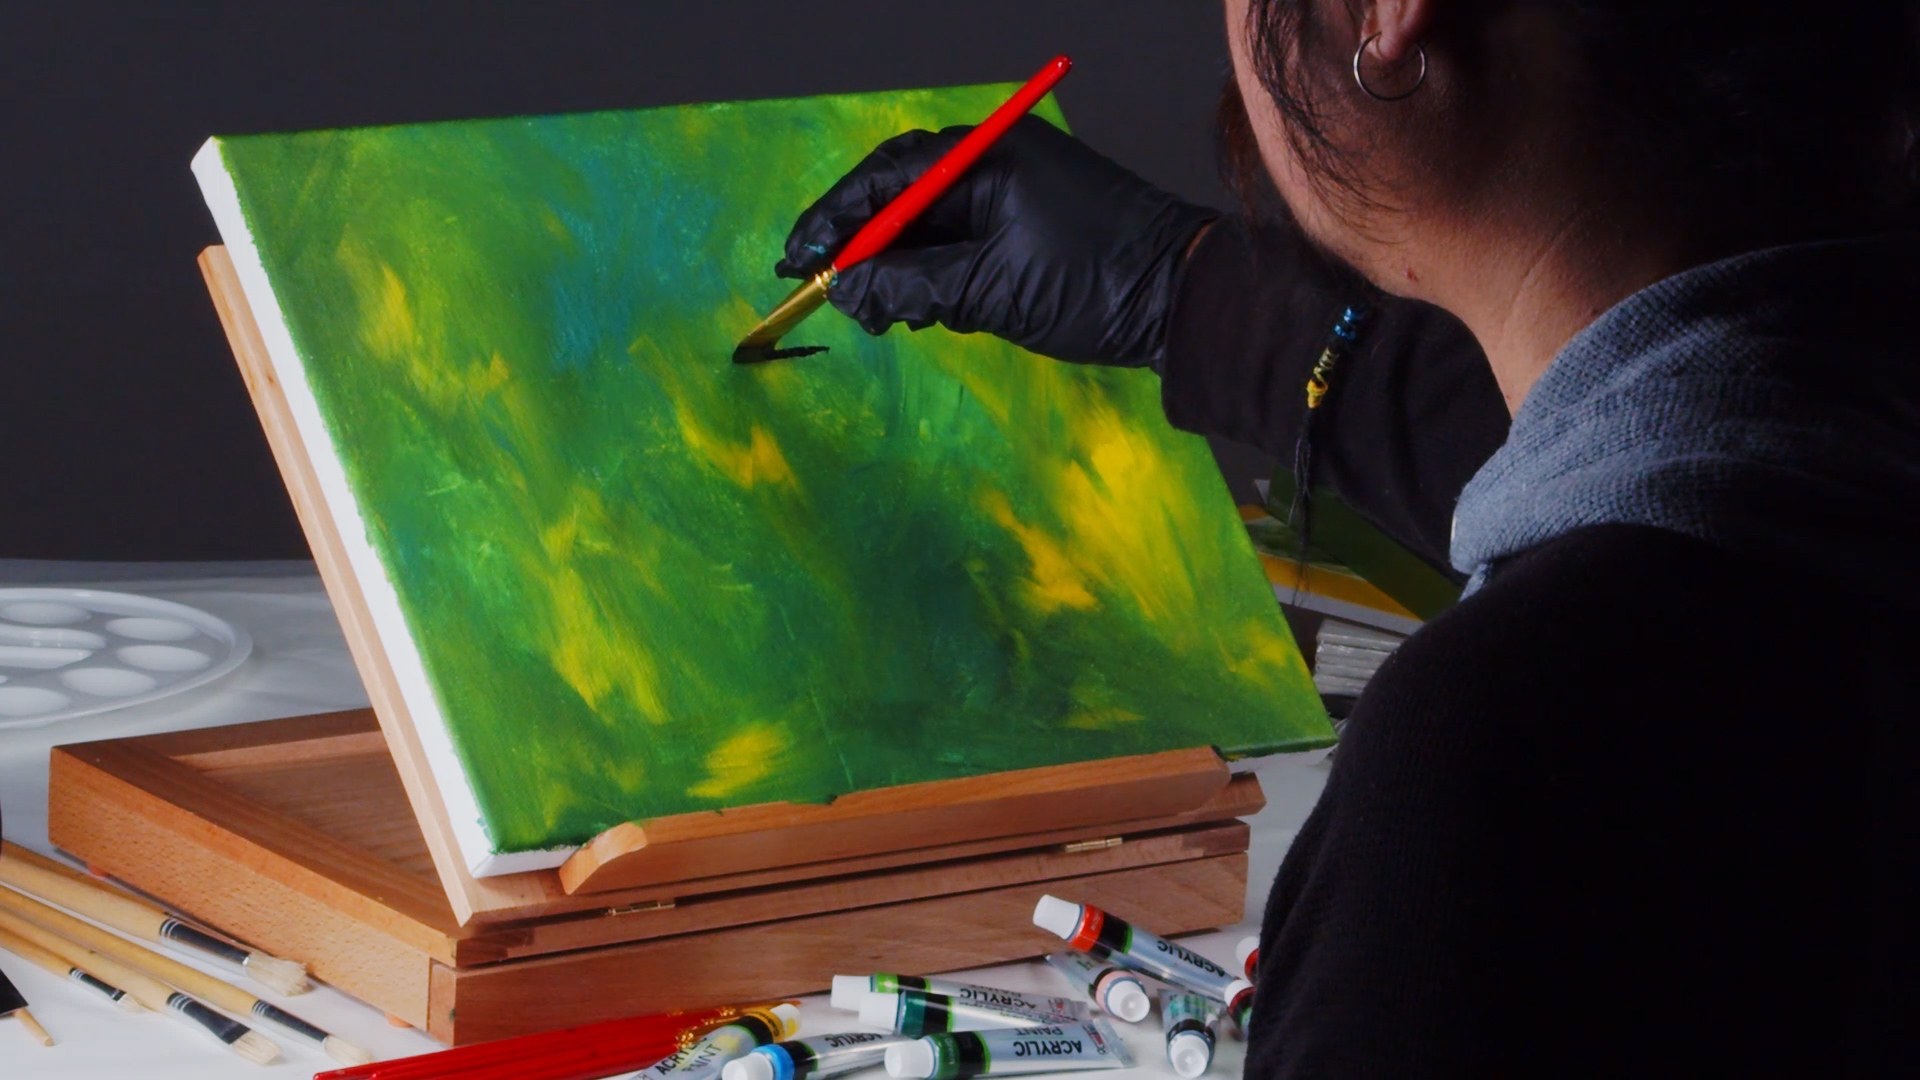
Step 6: Hummingbird Beak
To create my Hummingbird, I switch to a flat brush. The flat paint brushes are special because they can be used to make fine lines as well as broad strokes. Here I am using the brush as a fine liner with some black paint to create the super skinny beak that Hummingbirds are so famous for.
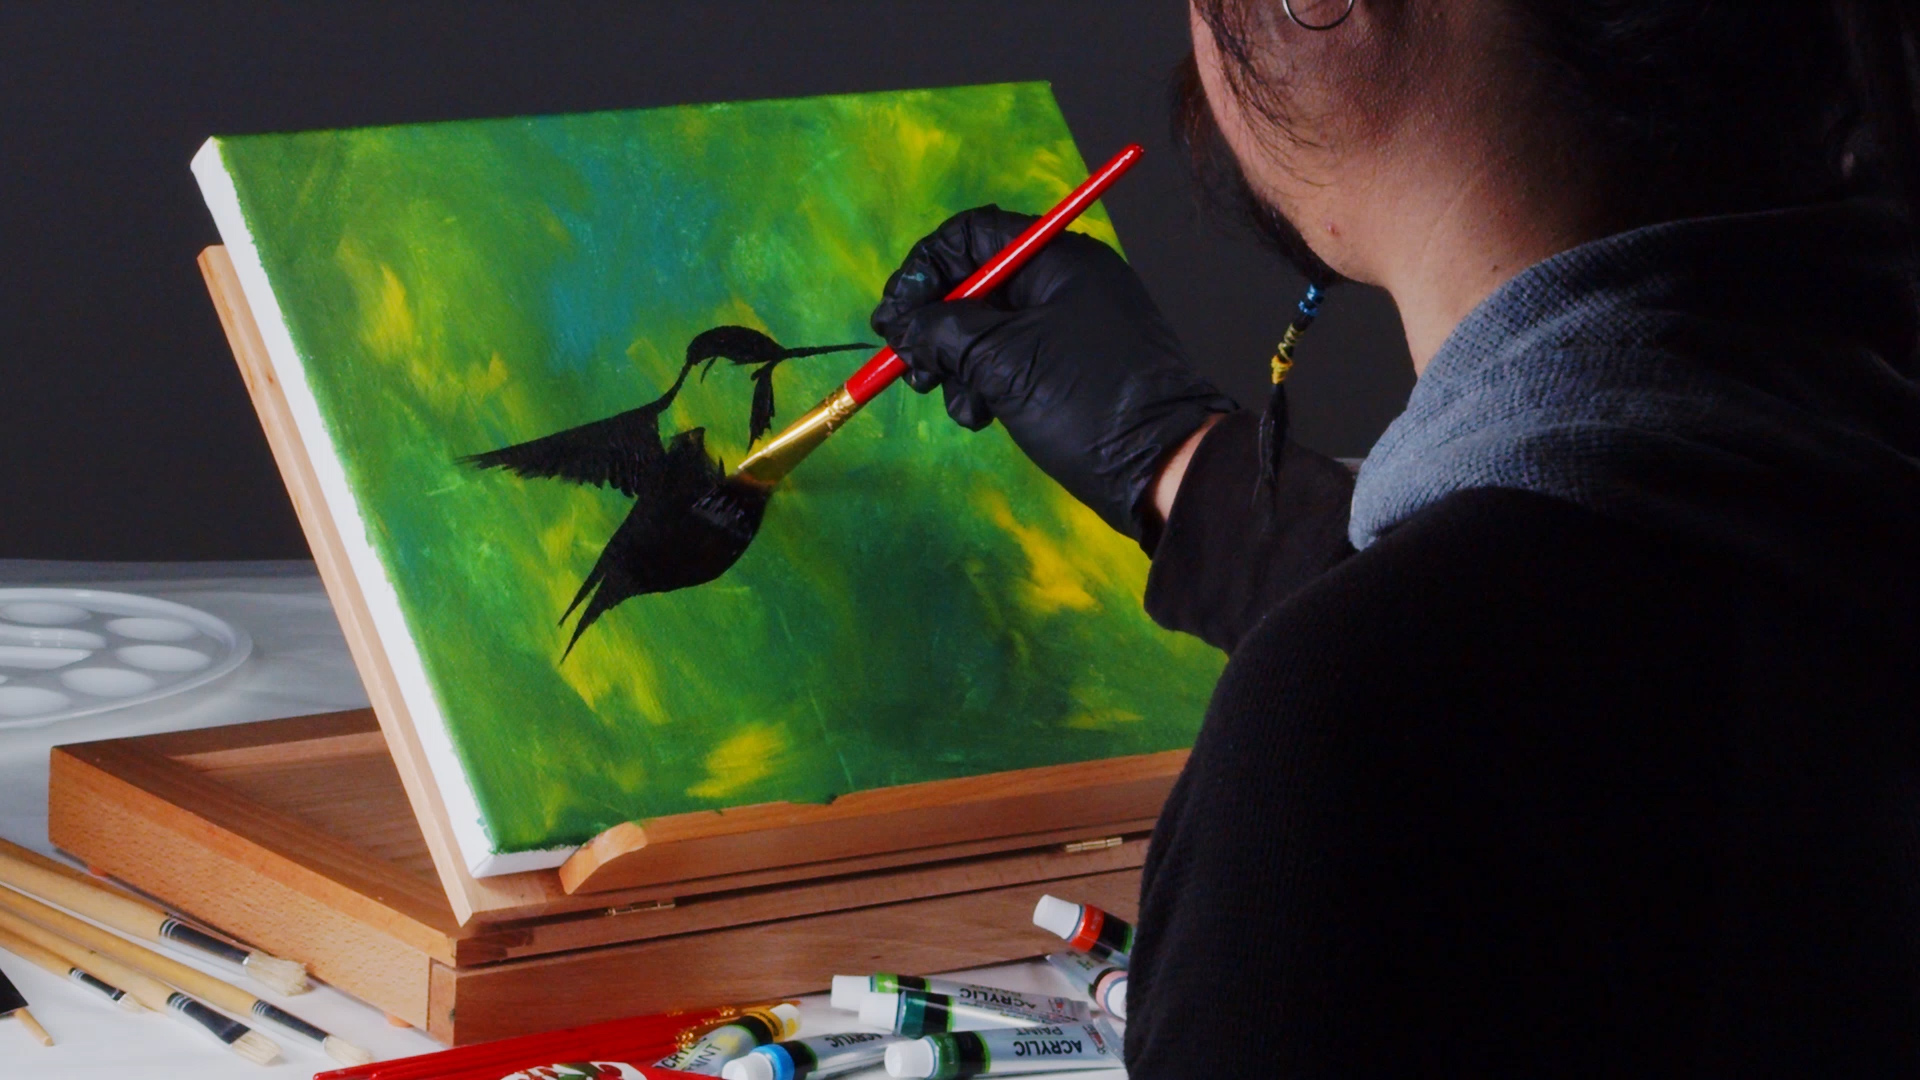
Step 7: Hummingbird Body
After creating the head, I can move onto the wings and the rest of the body. I am filling in the bird with black for now as this will be the base color for the fine feather work ahead.
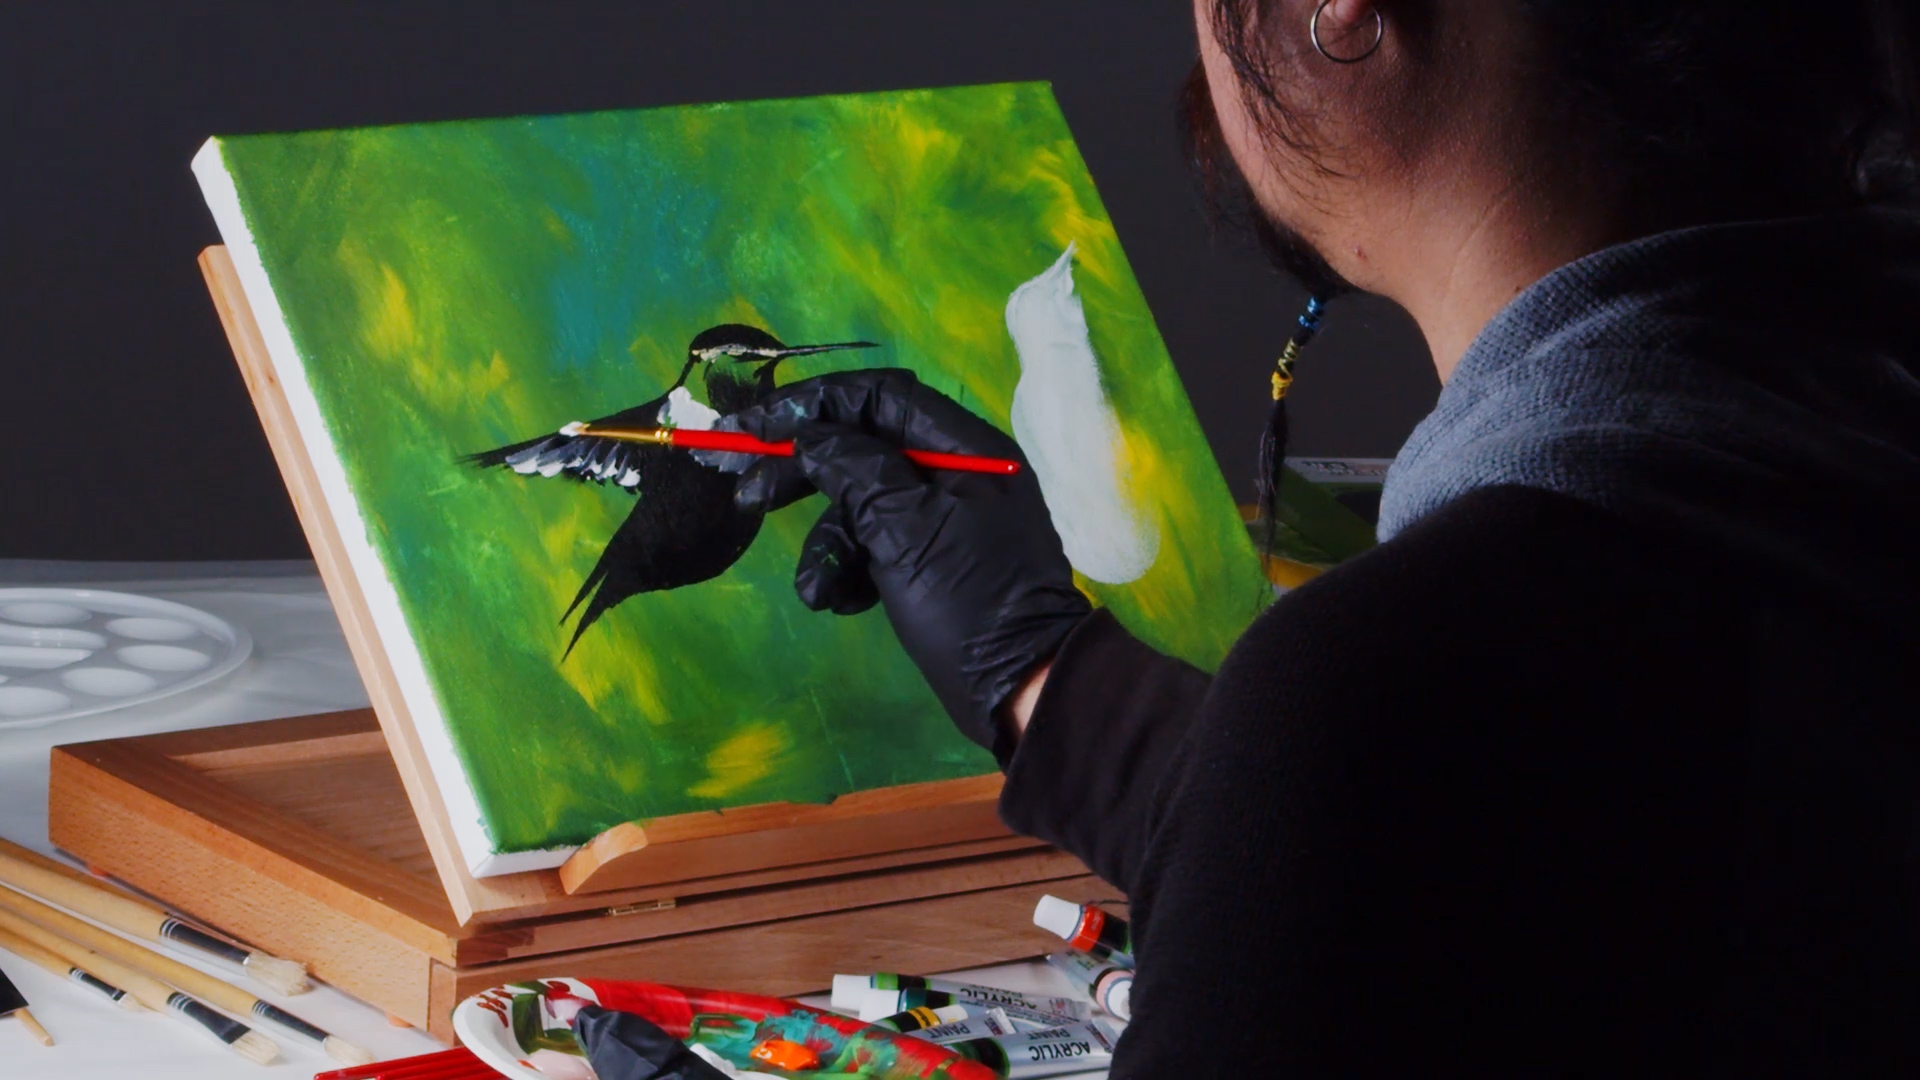
Step 8: Hummingbird Details
Here, I can add some white highlights the chest and feathers. I also add a fine little stripe across the eyes and onto the beak.
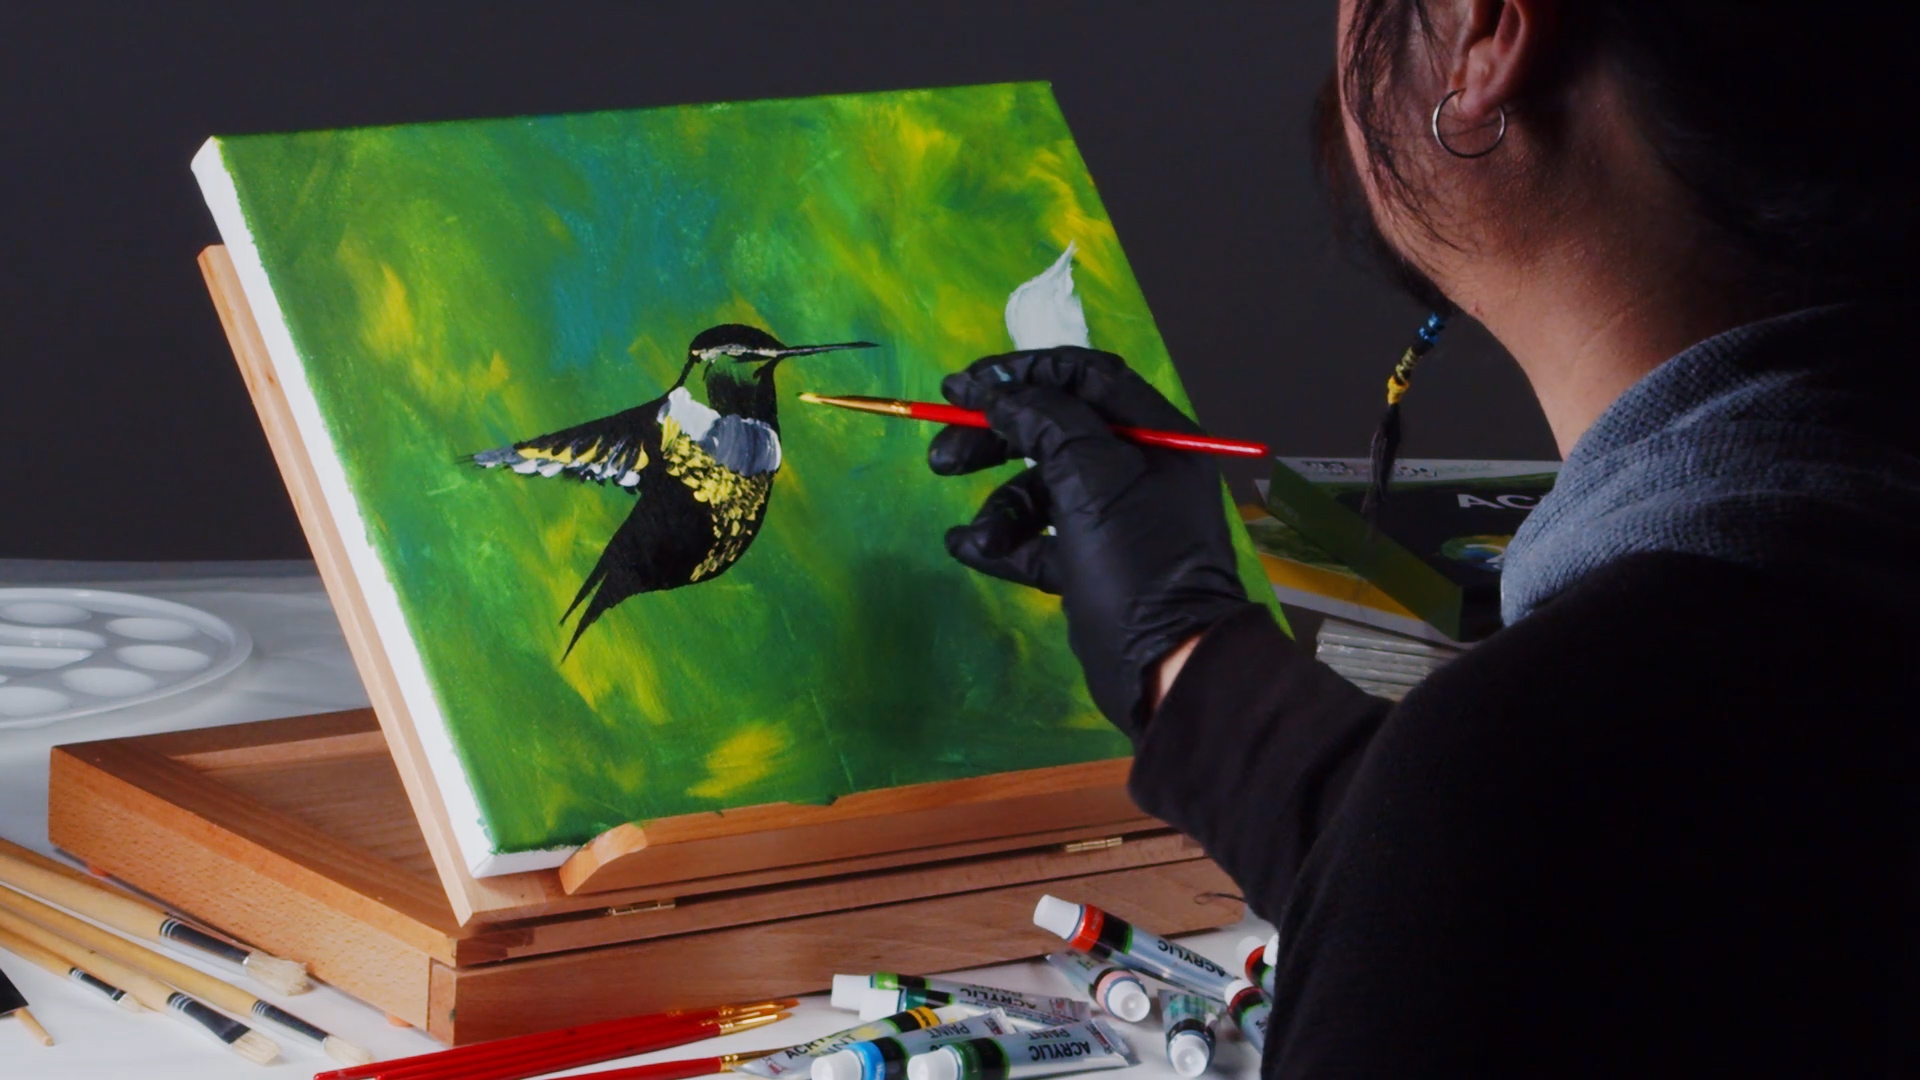
Step 9: Yellow Feathers
Now for some yellow on the feathers and on the chest.
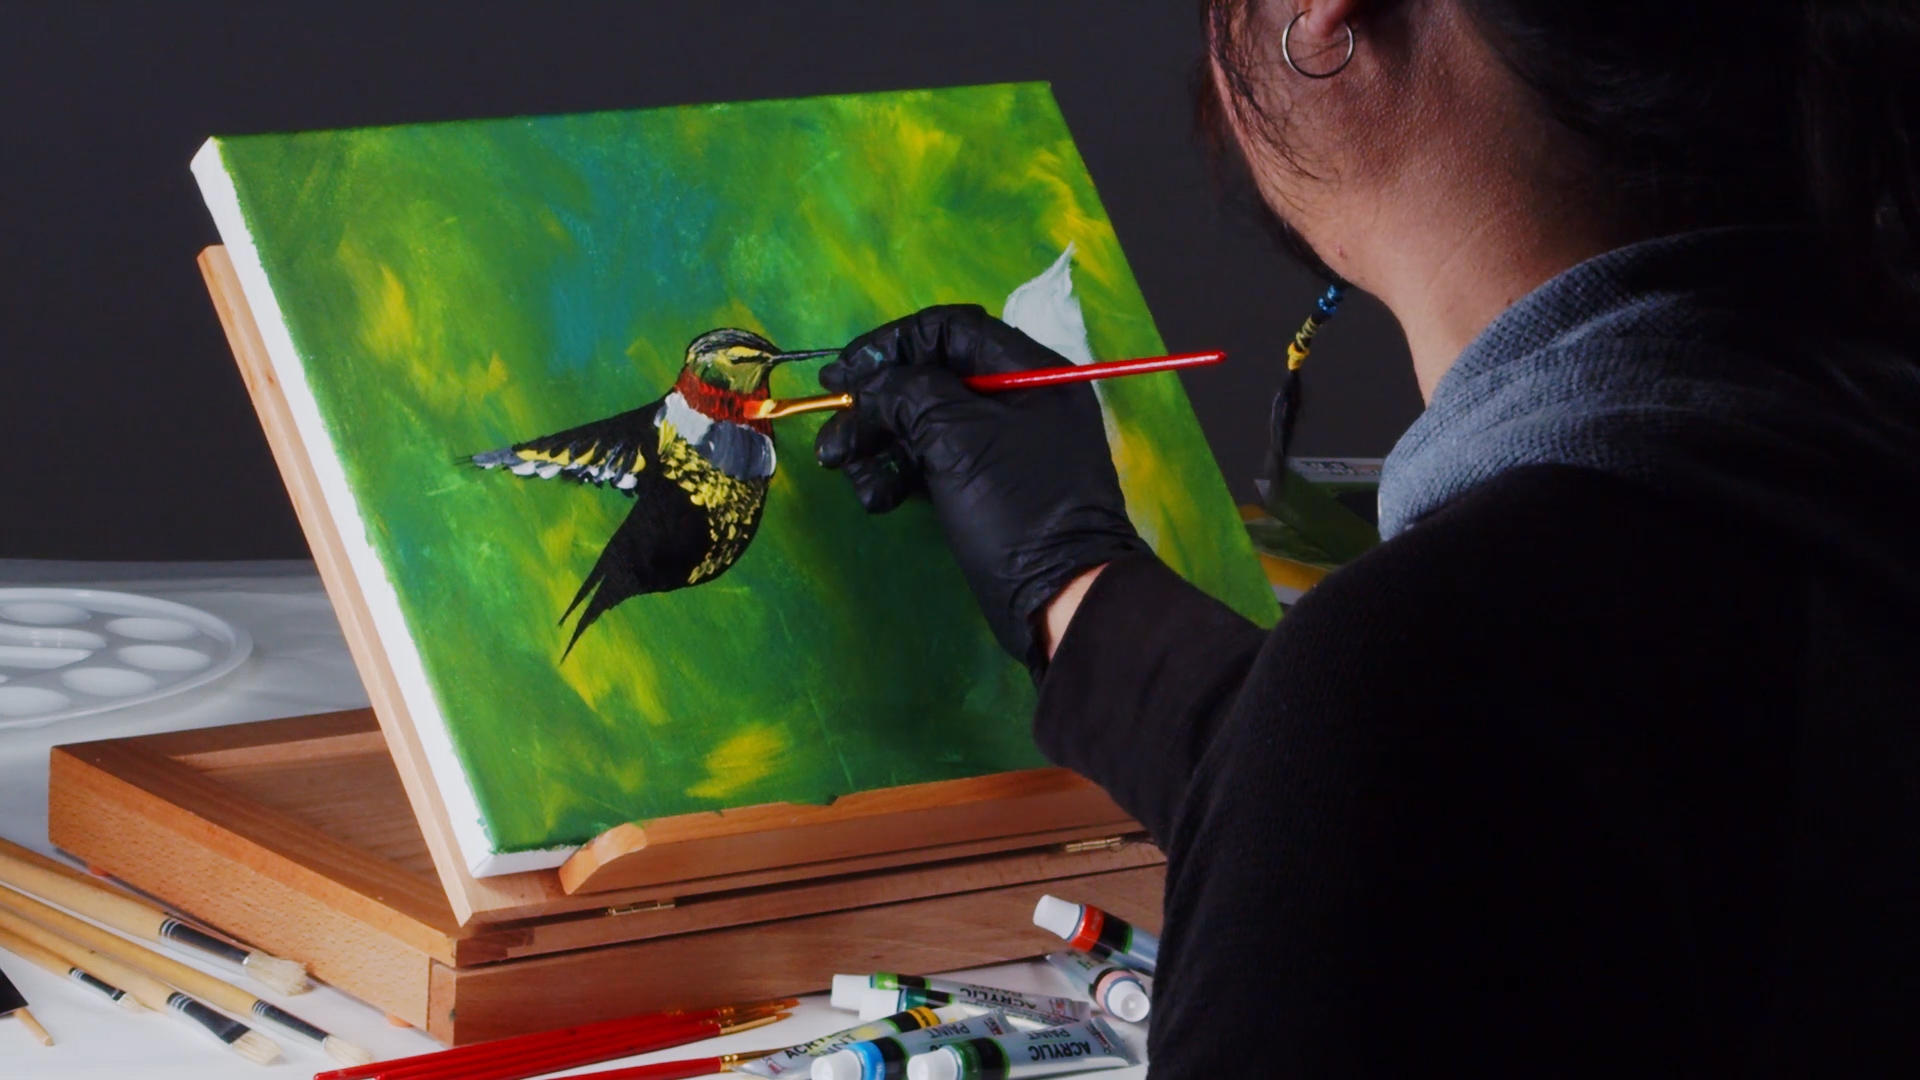
Step 10: Bright Red Crest
Bright Red feathers on the neck are applied, leaving some of the black to remain. This gives the illusion of depth for your feather work.
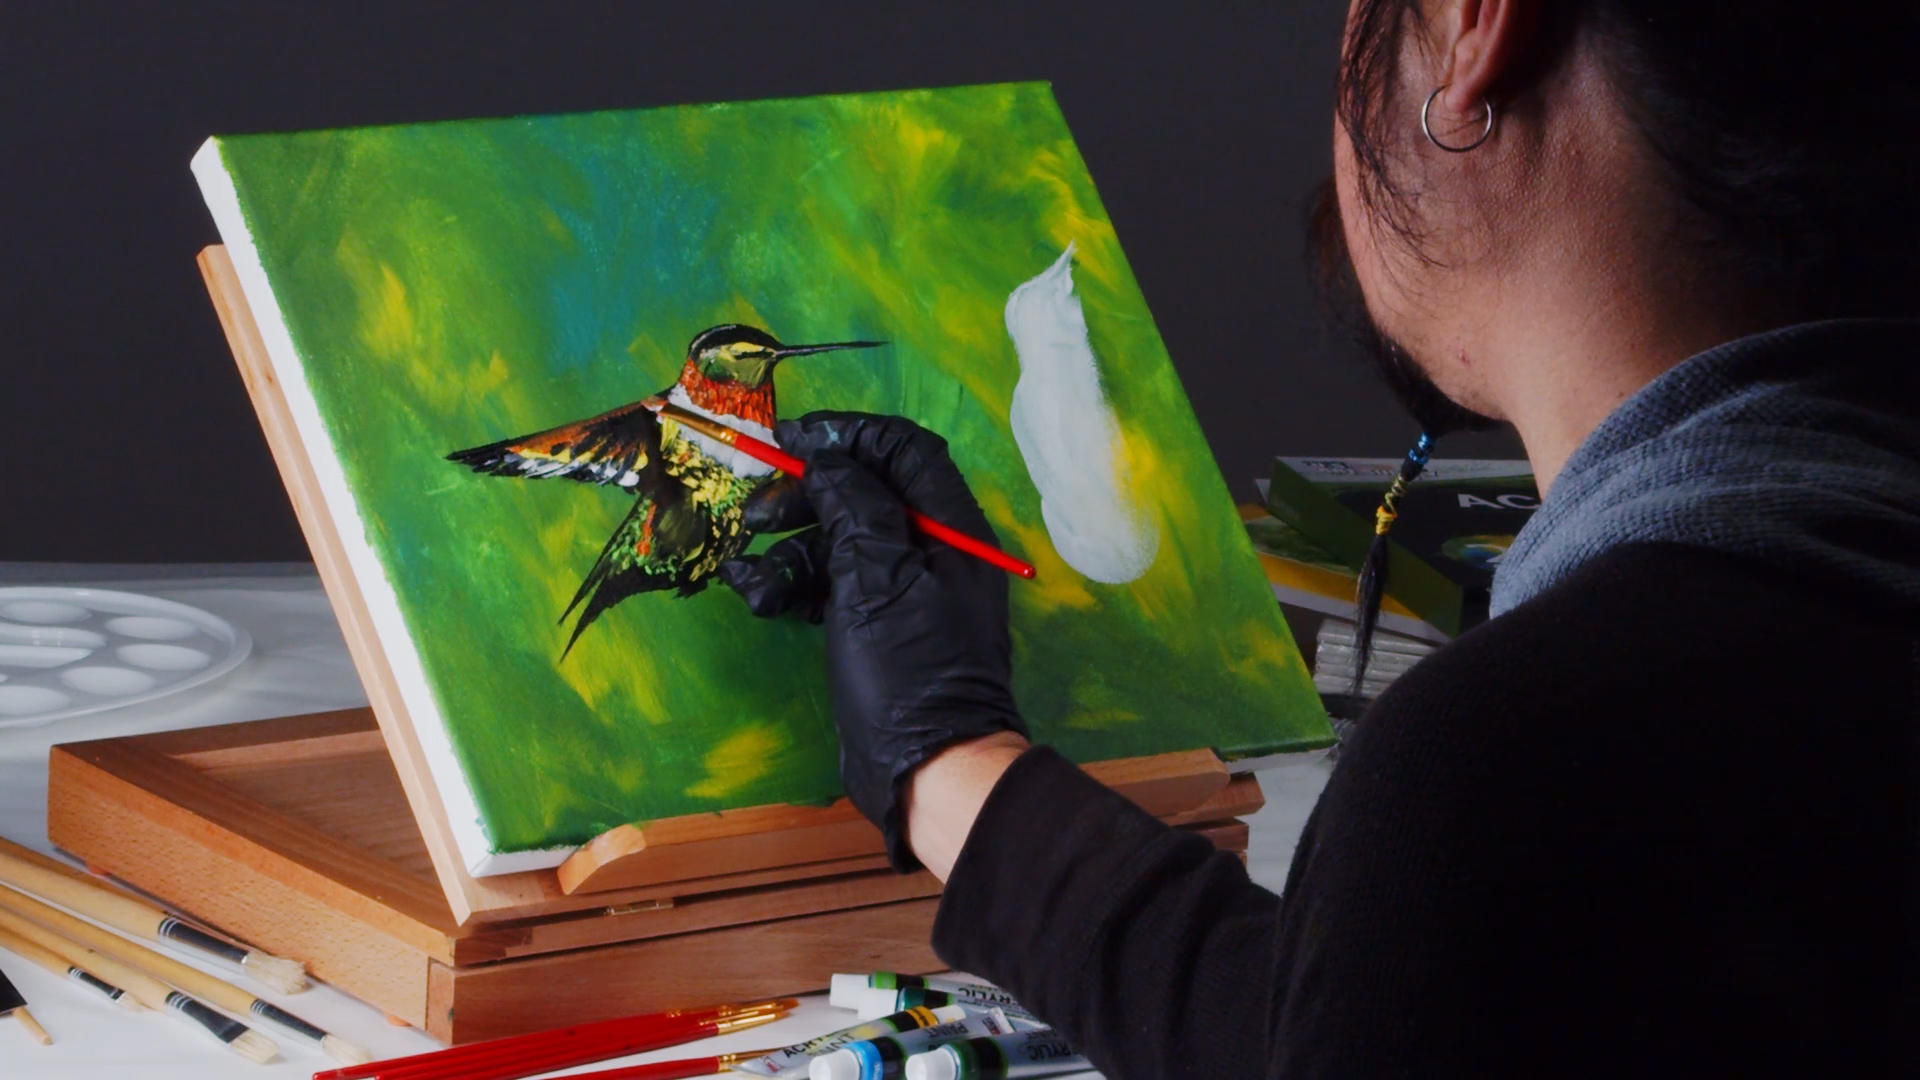
Step 11: Airbrush Details
Here, I am adding some more bright colors to the bird’s wings, chest and neck. I use Oranges, Yellows and Greens for this as they both accentuate and complement each other. Our bird is looking real nice now.
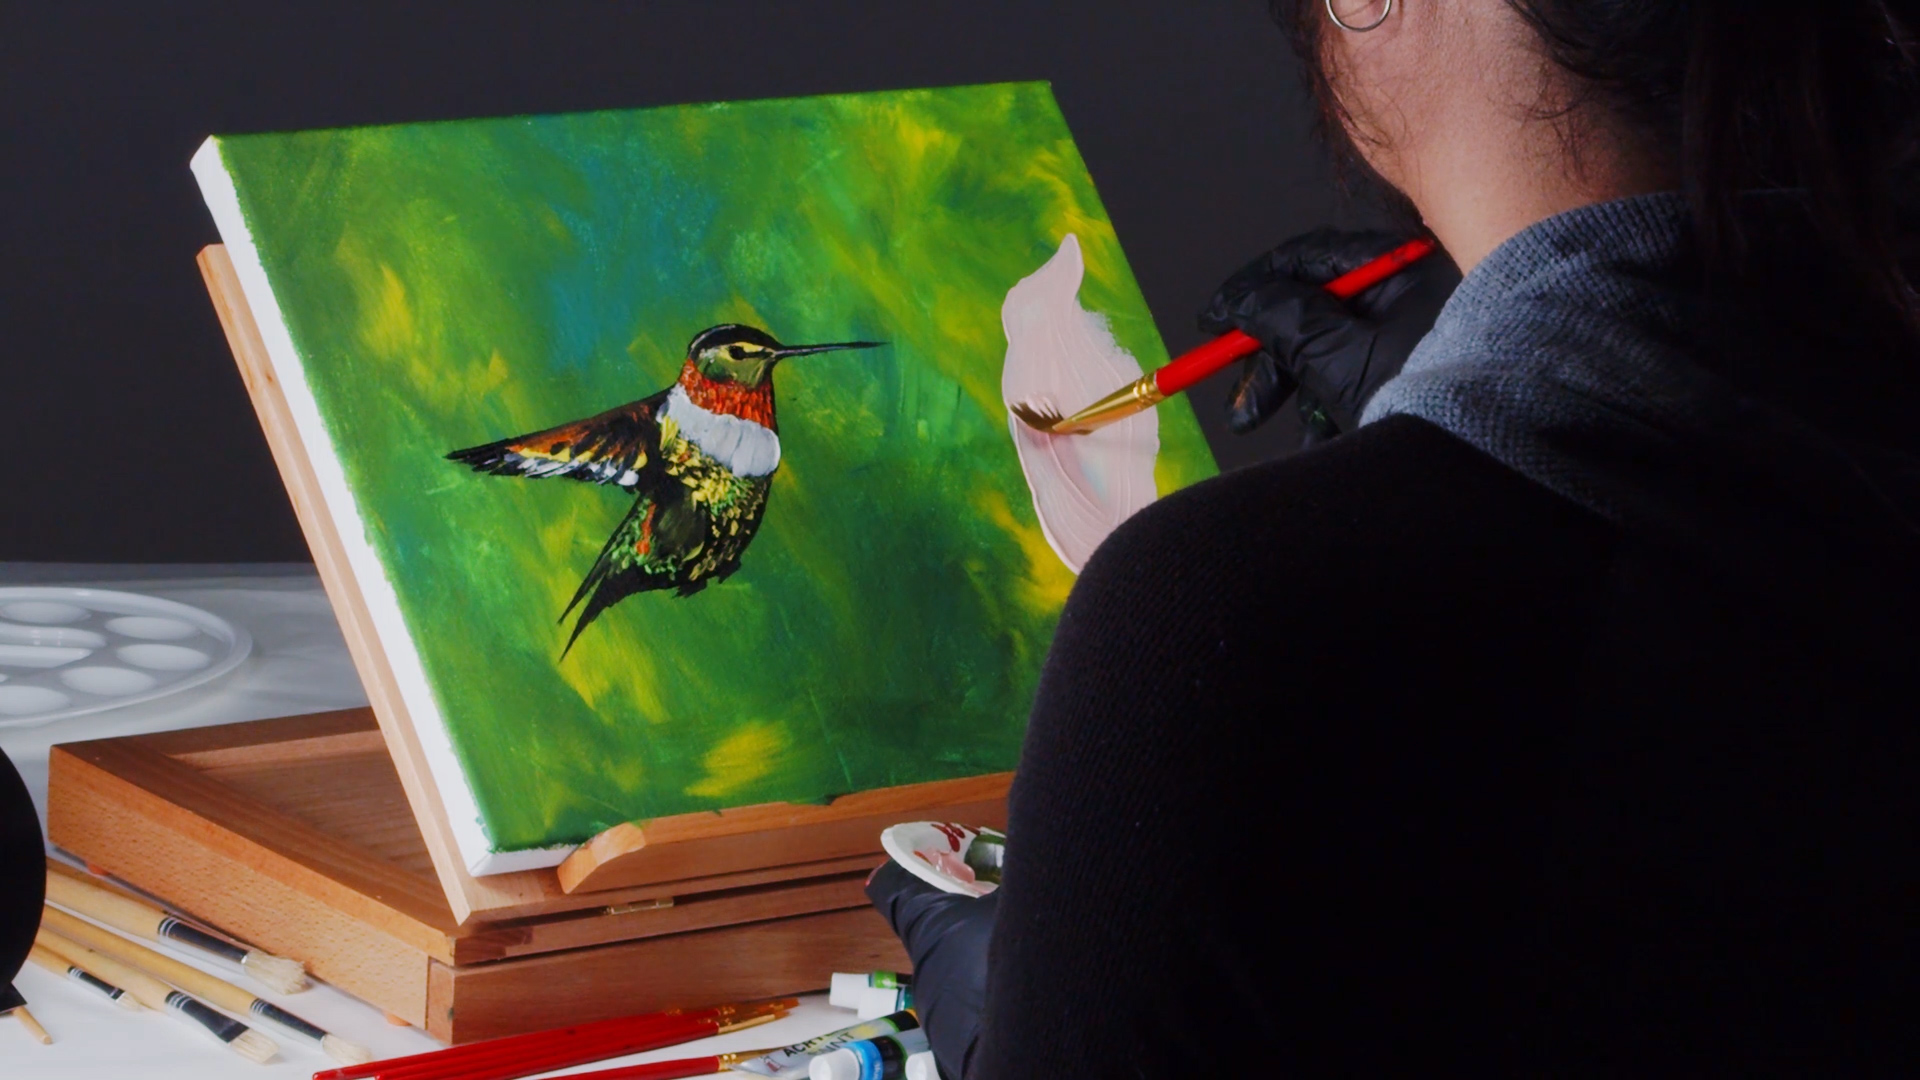
Step 12: Airbrush Details
Here is how I add in my flower. I begin by applying a base color of pink and create the general shape of the flower.
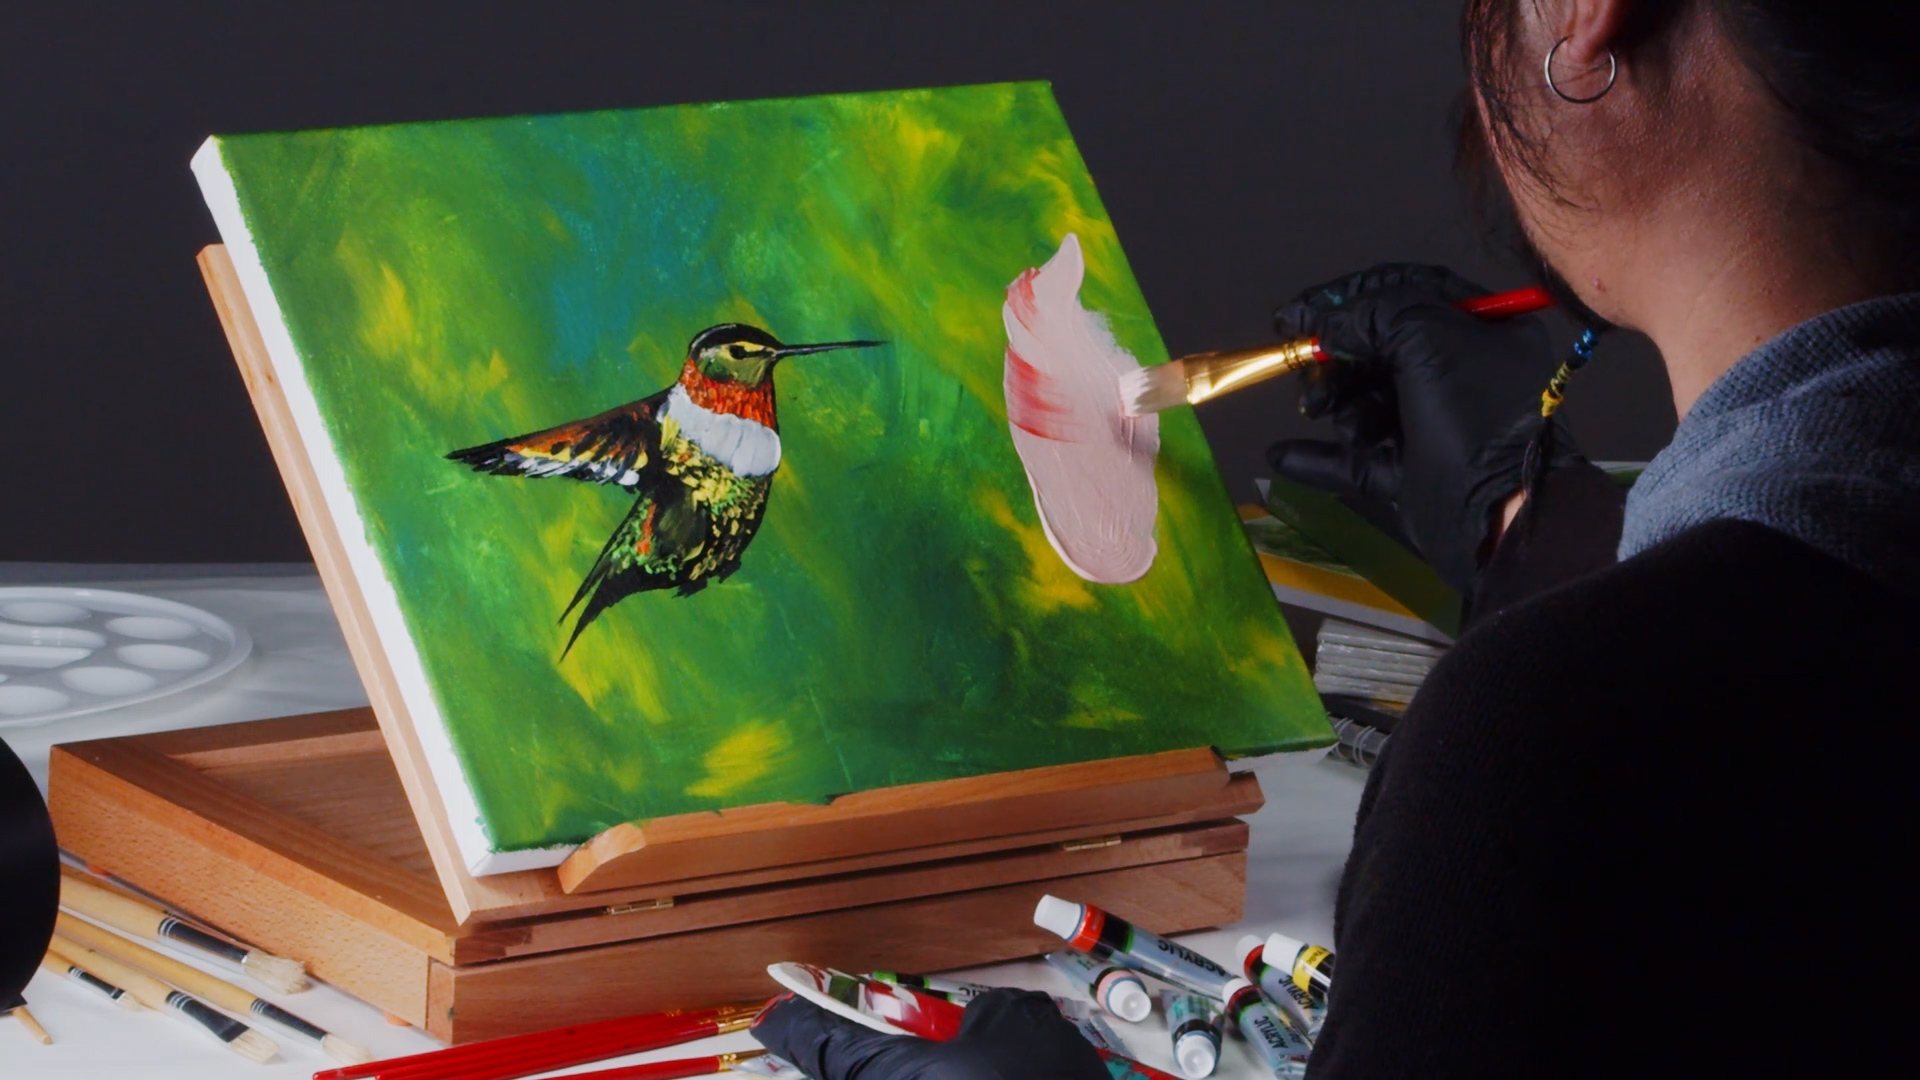
Step 13: Flower Pedals
While the Pink paint is still wet, I add Red dashes of paint pointing in the direction of the center of the flower. The strokes should be radiating outward from the center. Experiment with the brush and the different size strokes you can achieve.
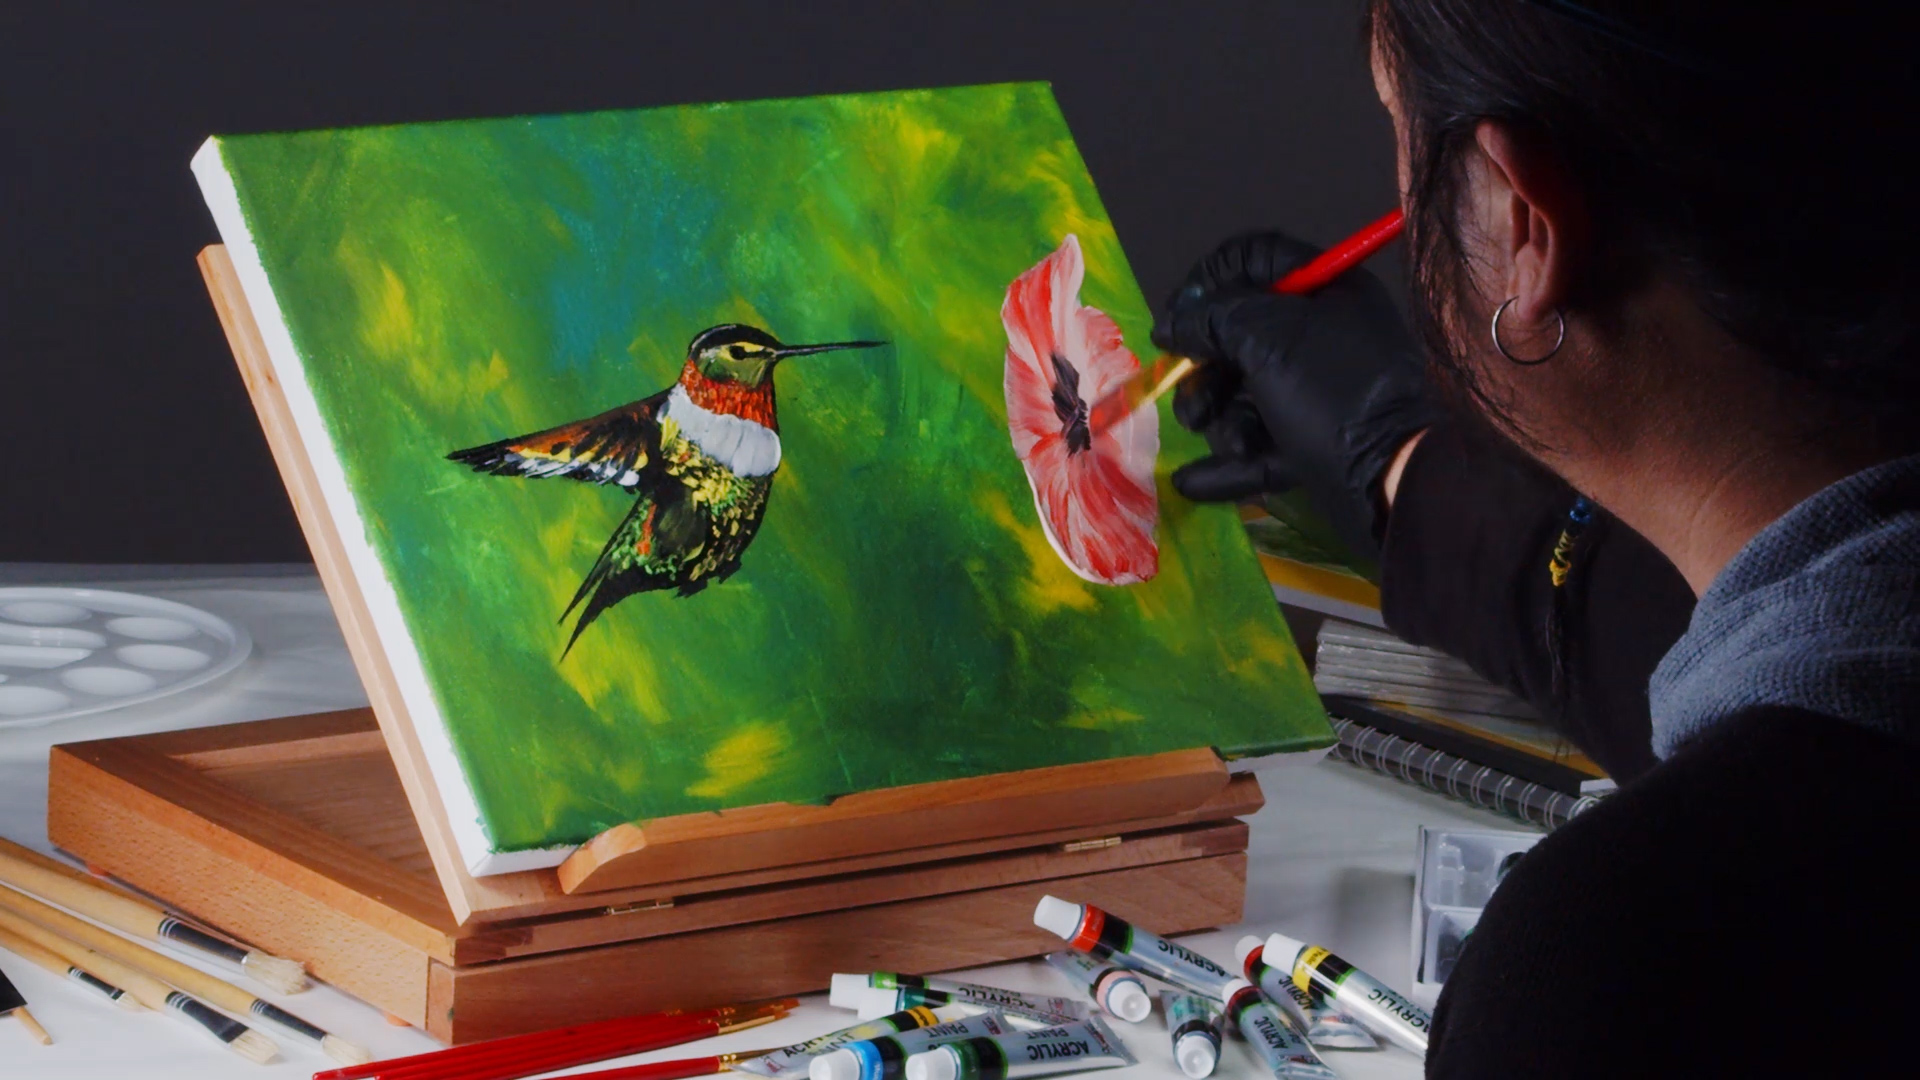
Step 14: Flower Well
Now, I can add a little dark paint in the center to represent the deep well of the flower.
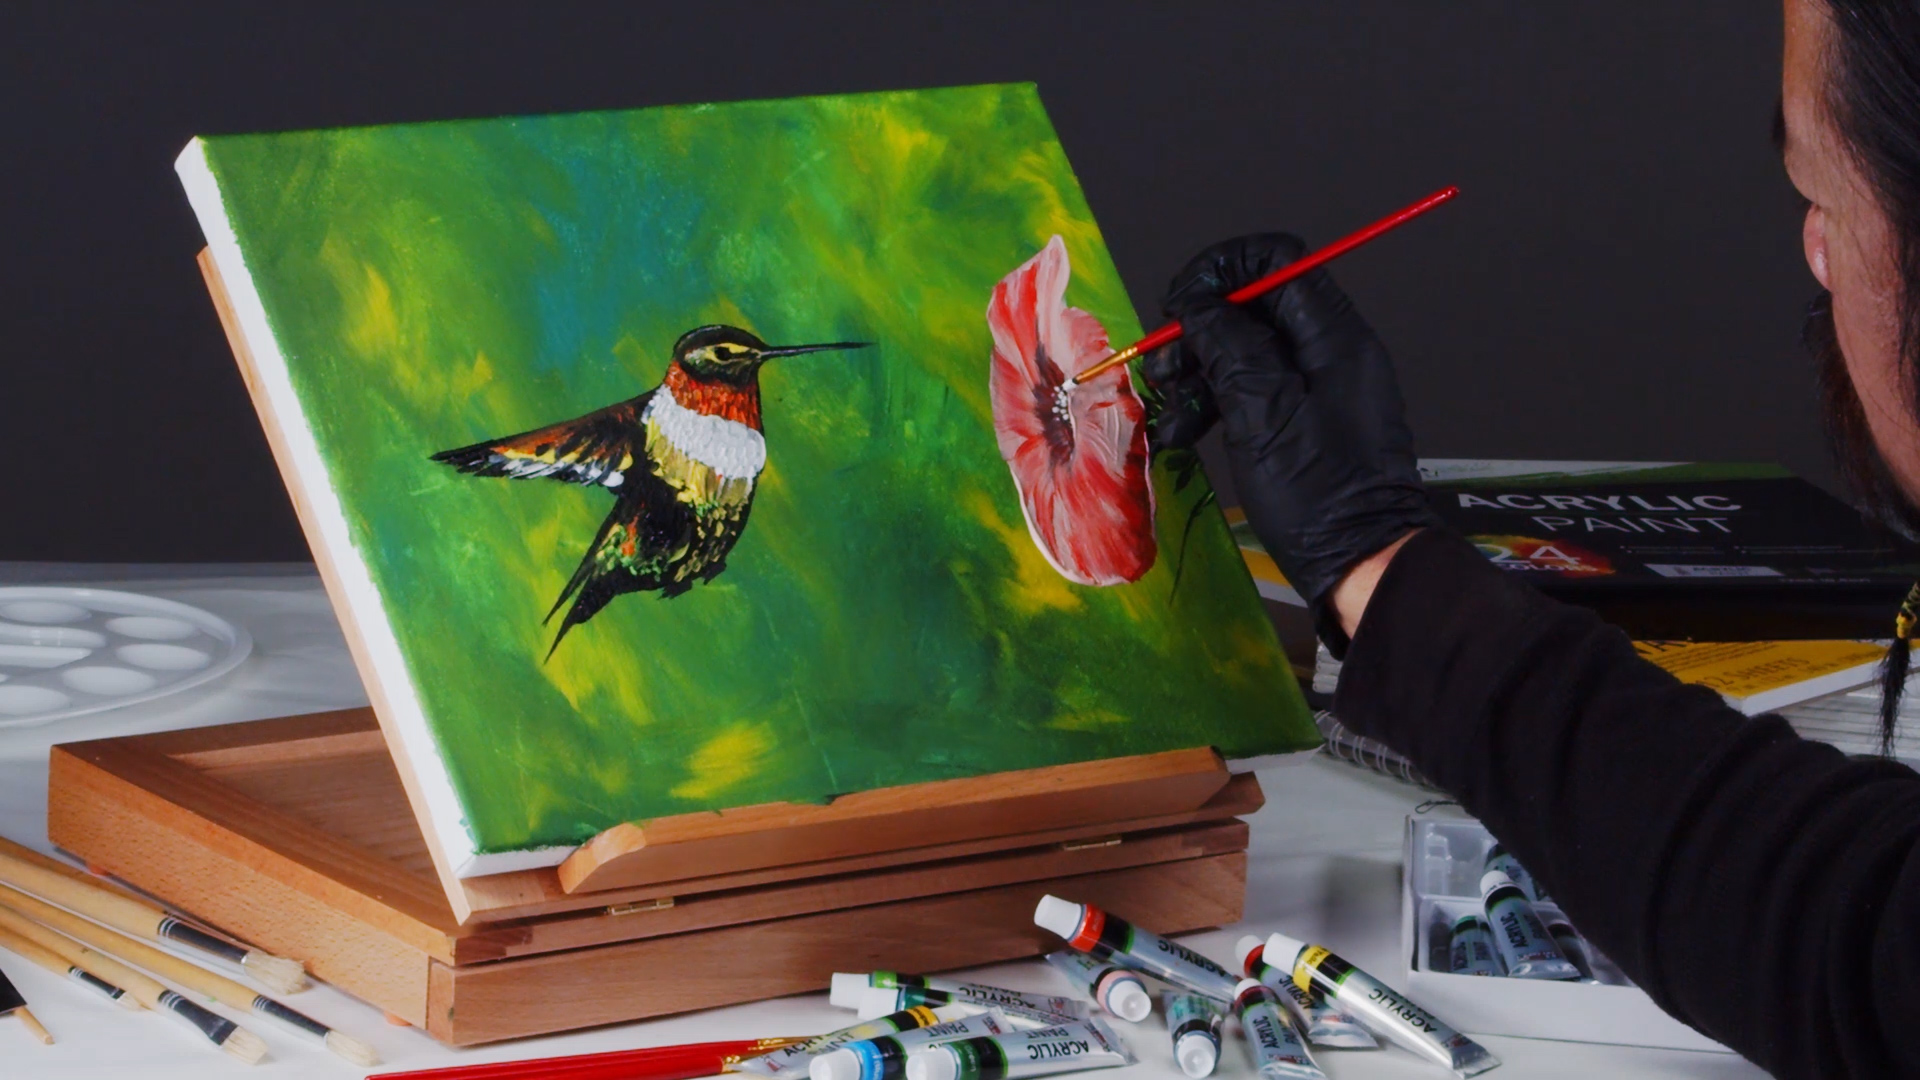
Step 15: Finishing Details
For the final finishing touches, I add small dots representing seeds from the center of the flower. I also add some indications of leaves around my canvas. For the Hummingbird, it’s lunch time.
Thanks for creating with me today and join us again for another fun U.S. Art Supply tutorial.
