How-to-Draw Waves Using Markers
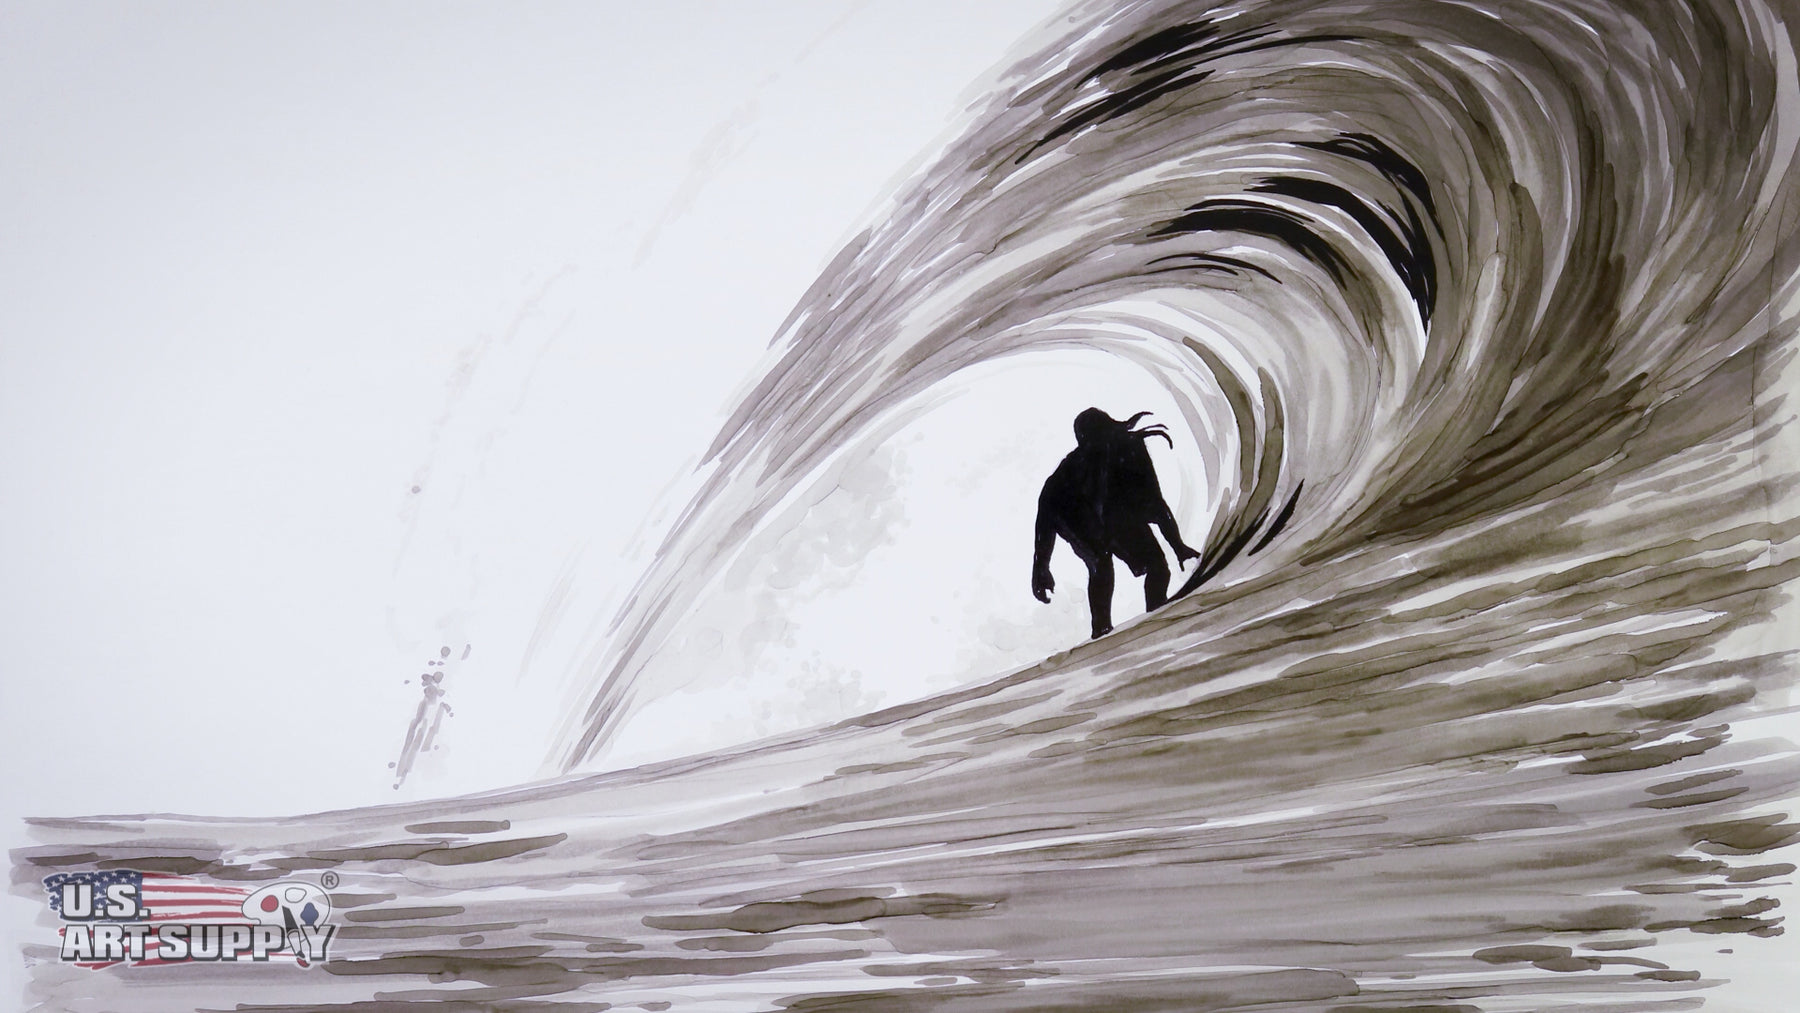
Today, I will be creating a wave in grey scale to demonstrate how to control your shading. I am a surfer so when I’m not in the water, I am either dreaming of waves or drawing them. So, grab your markers and let’s get to it!
What You'll Need
Acrylic Paint
- Warm Gray #1
- Warm Gray #4
- Warm Gray #6
- Warm Gray #2
- Black
Other Supplies
- Marker Paper
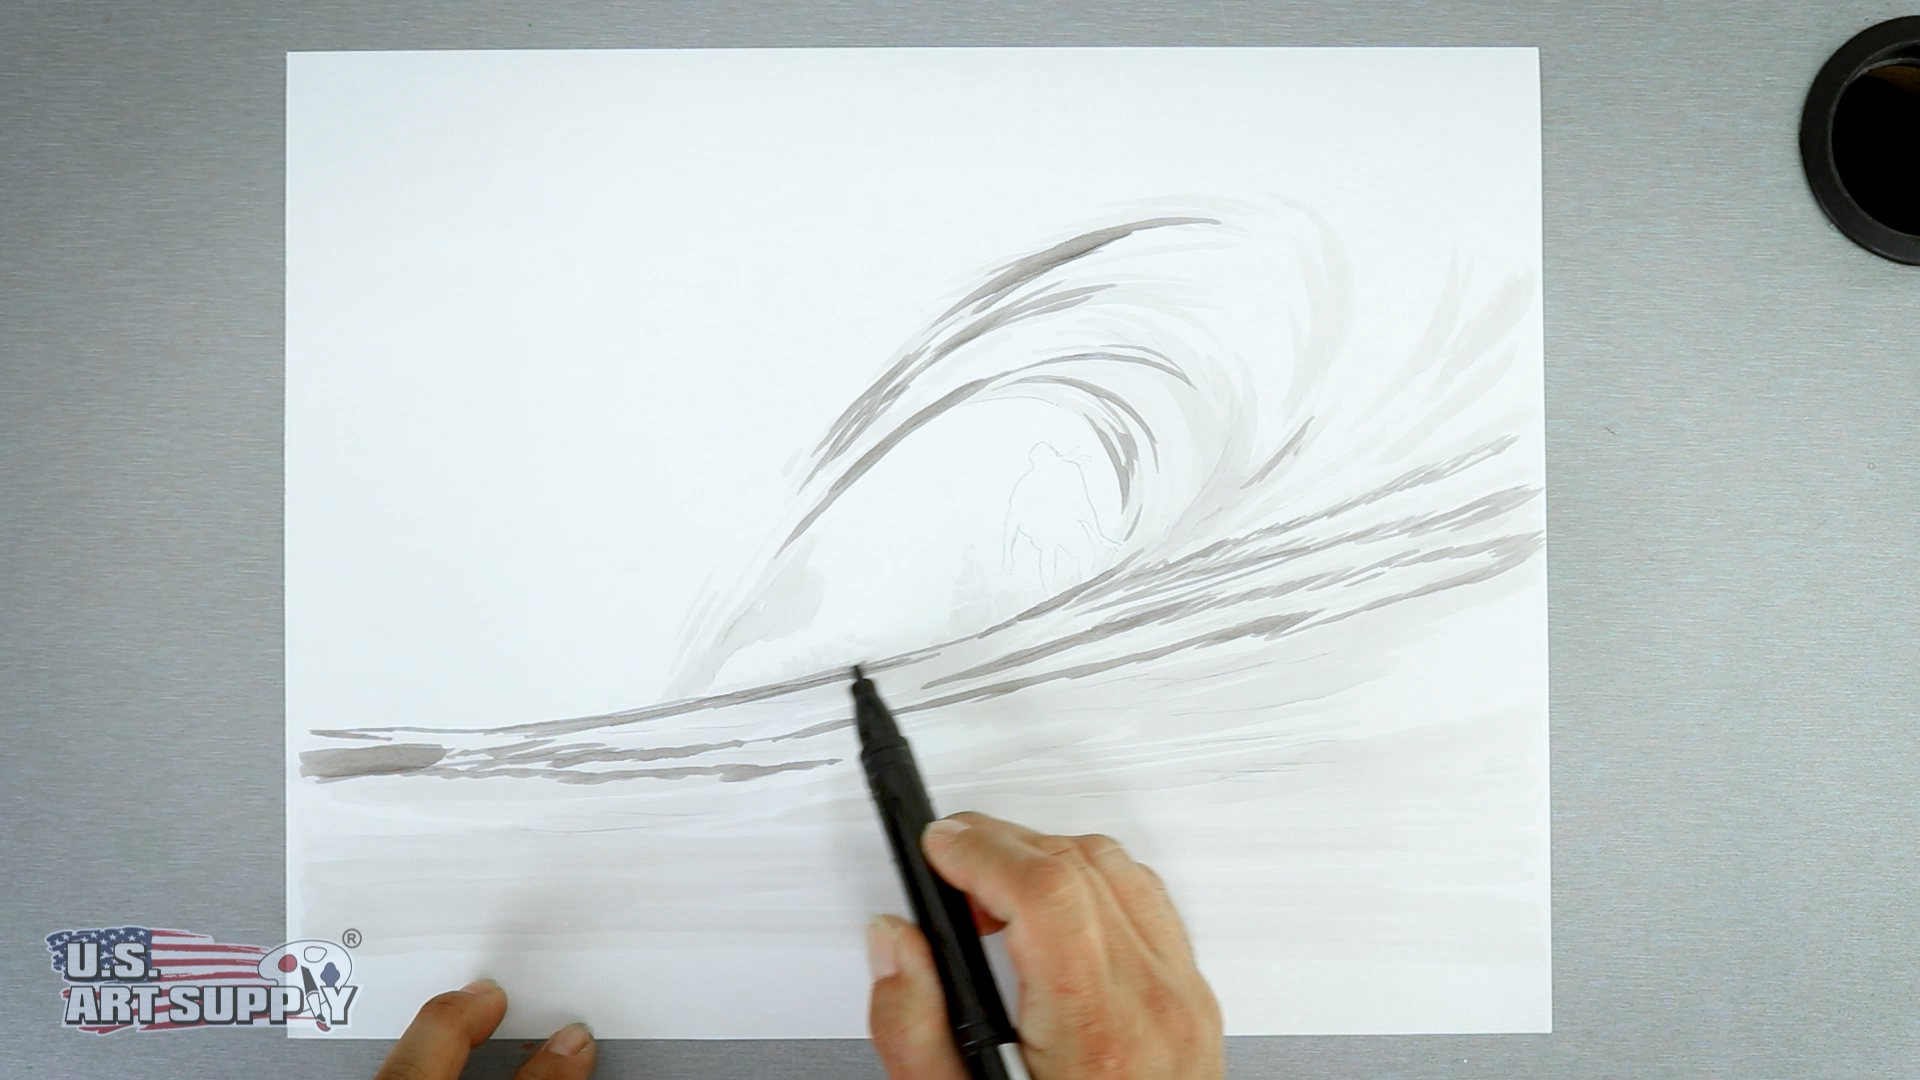
Step 1: Sketch and Waves
To start my wave, I used a pencil to sketch the wave, the foreground water and even the surfer. I then take Warm Gray #1 and start to shade in over the pencil lines.
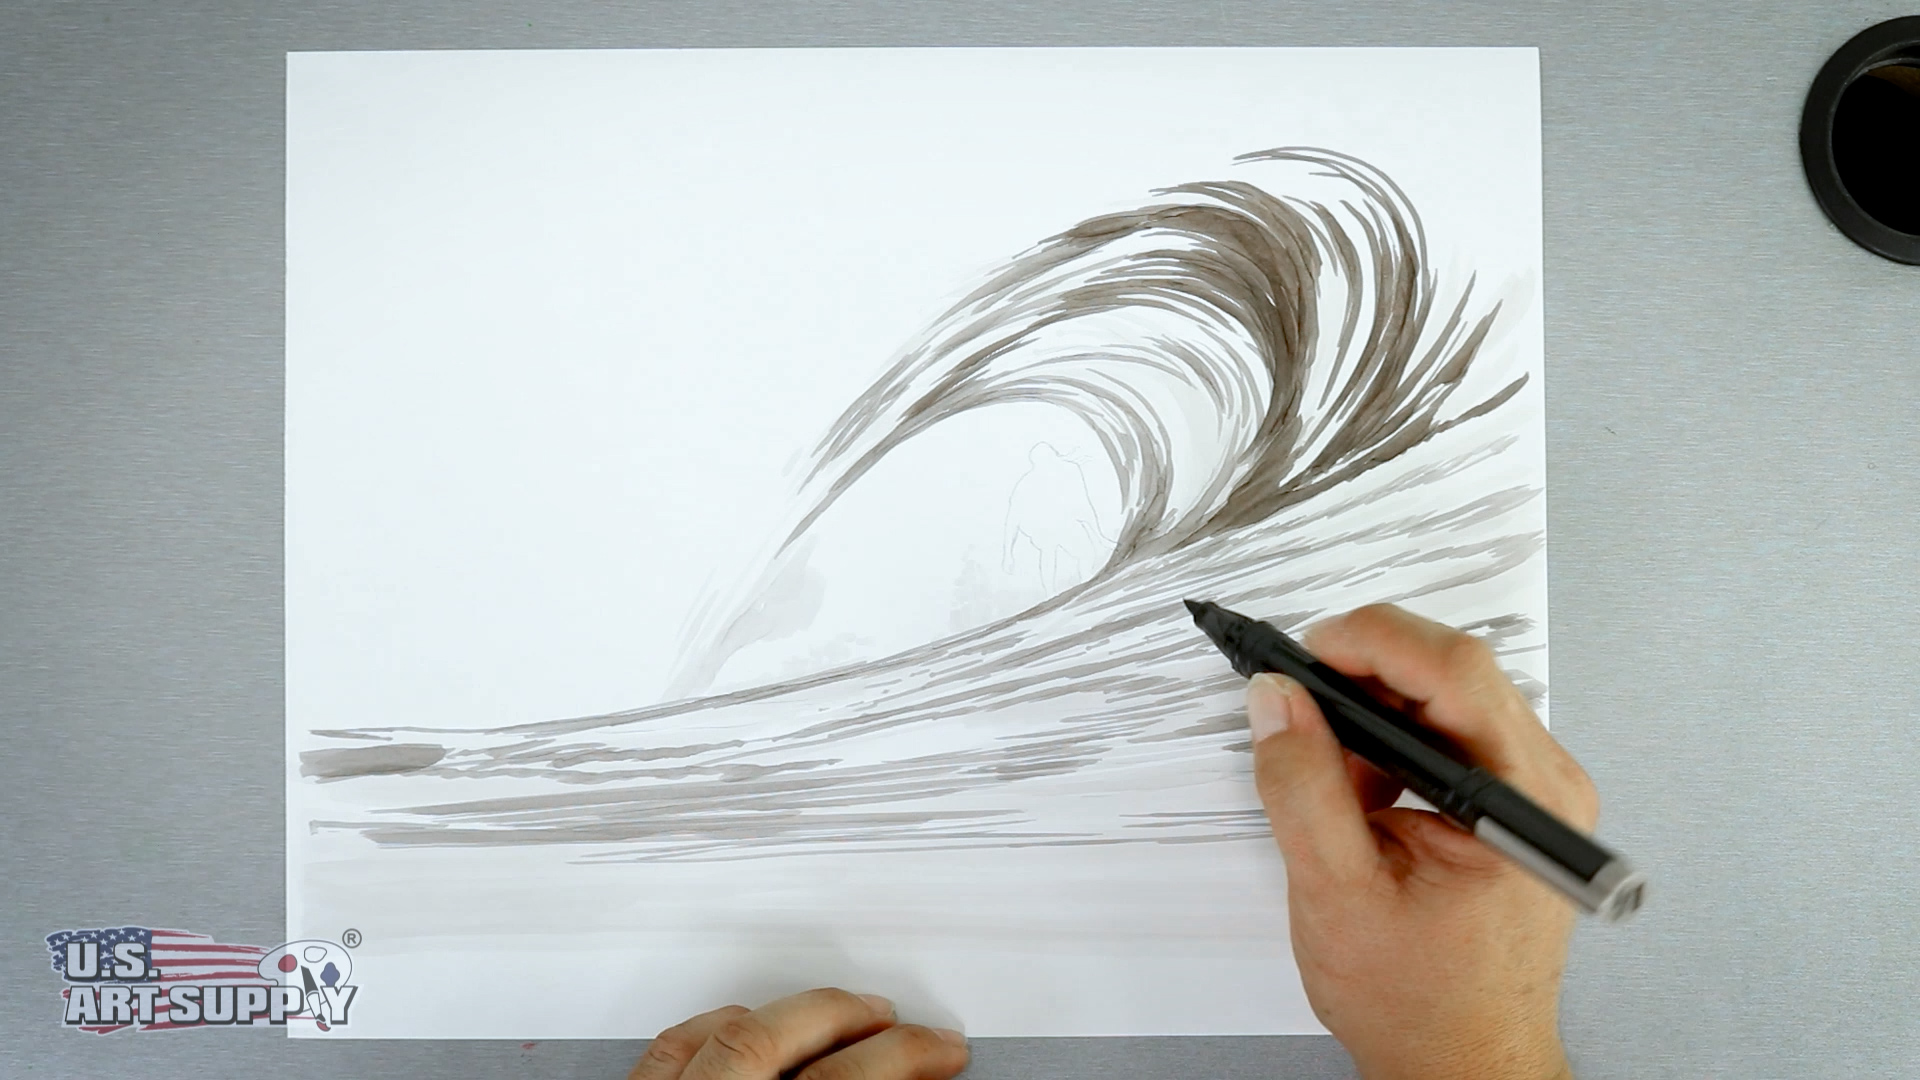
Step 2: Water Detailing
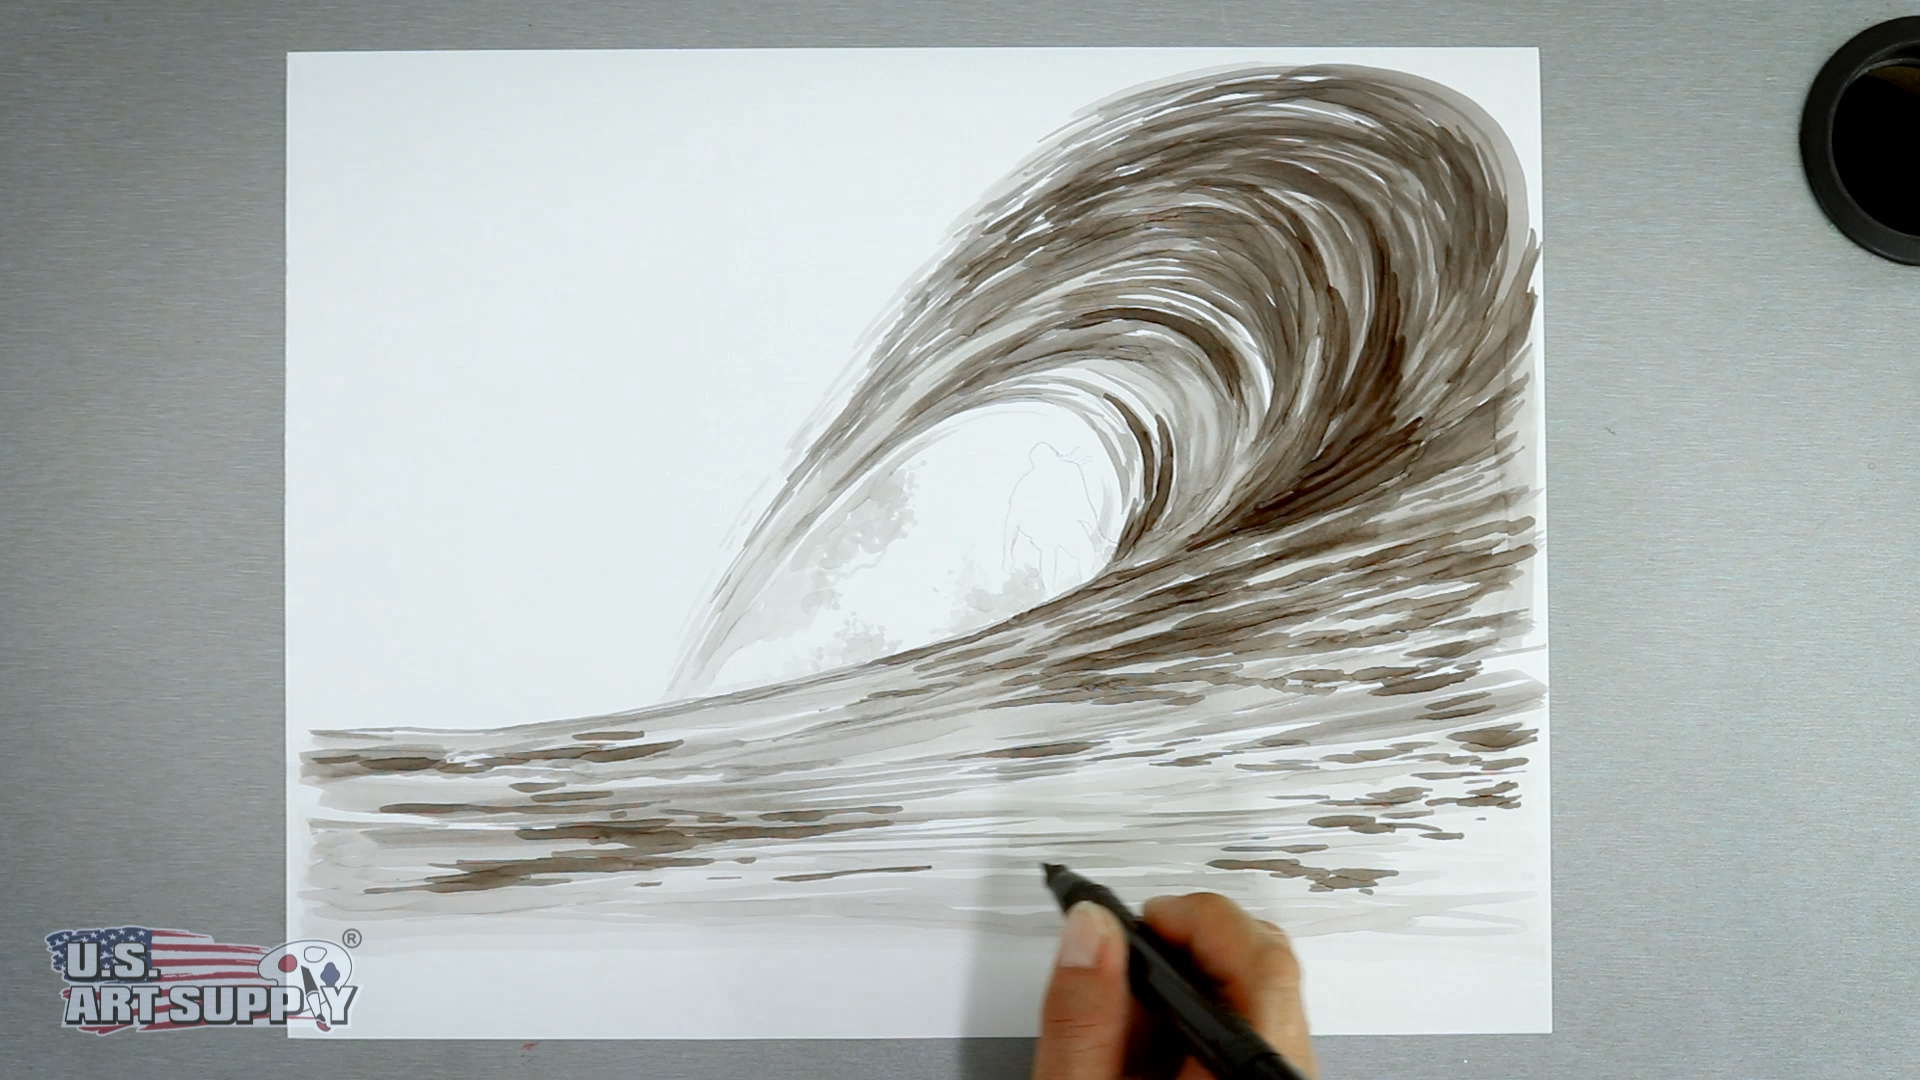
Imagine floating in the water with a camera and what you would see; reflections, shadows, ripples of both and tons of them. Take your time with this shade and have fun.
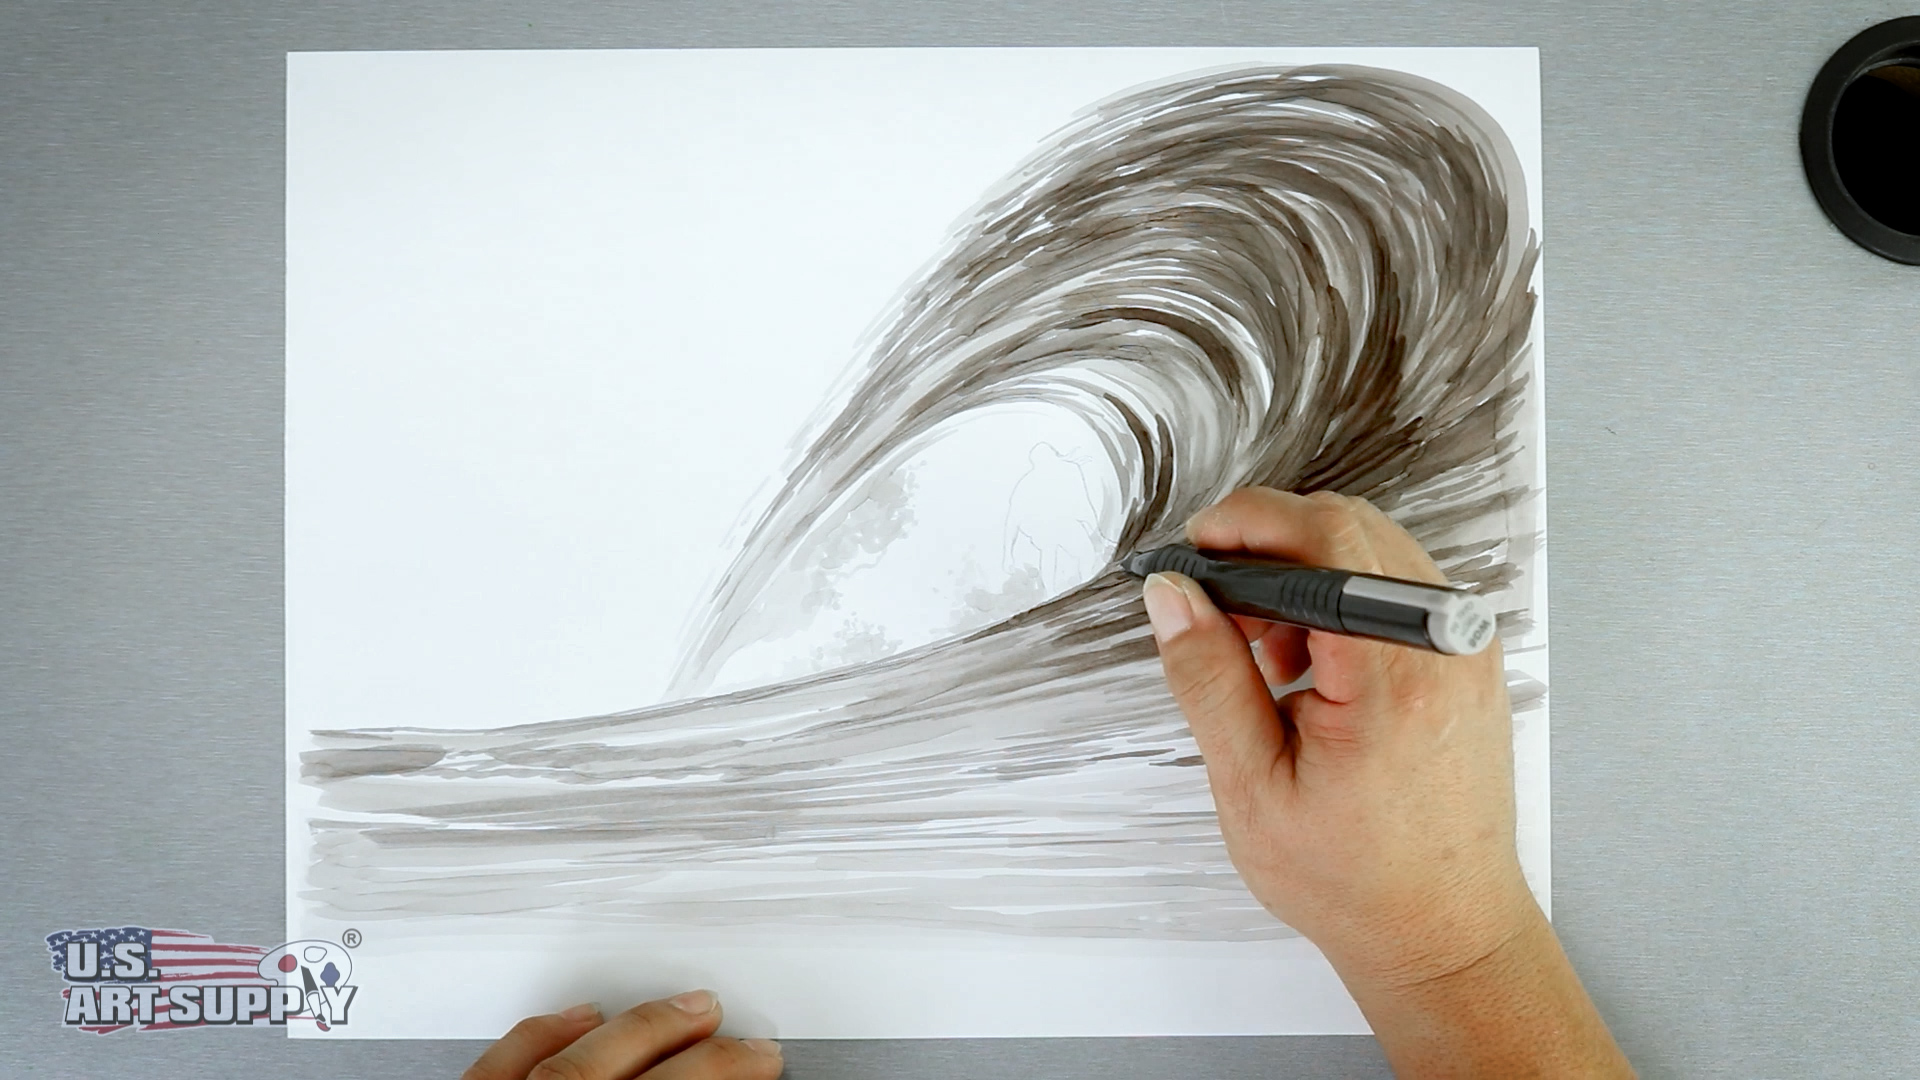
Step 3: Shadows and Reflections
Now I can switch to a different shade marker and begin to add some darker shadows and reflections to the wave. I so want to leave some of the light grey strokes I added earlier by simply accenting them with the darker shade.
Step 4: Darker Details
After that, I am ready for an even darker shade to really push the shadows on the ripples and the wave. You can switch from the chisel tip and the brush tip, whichever side of the marker feels best for you.
Step 5: Layering Your Colors
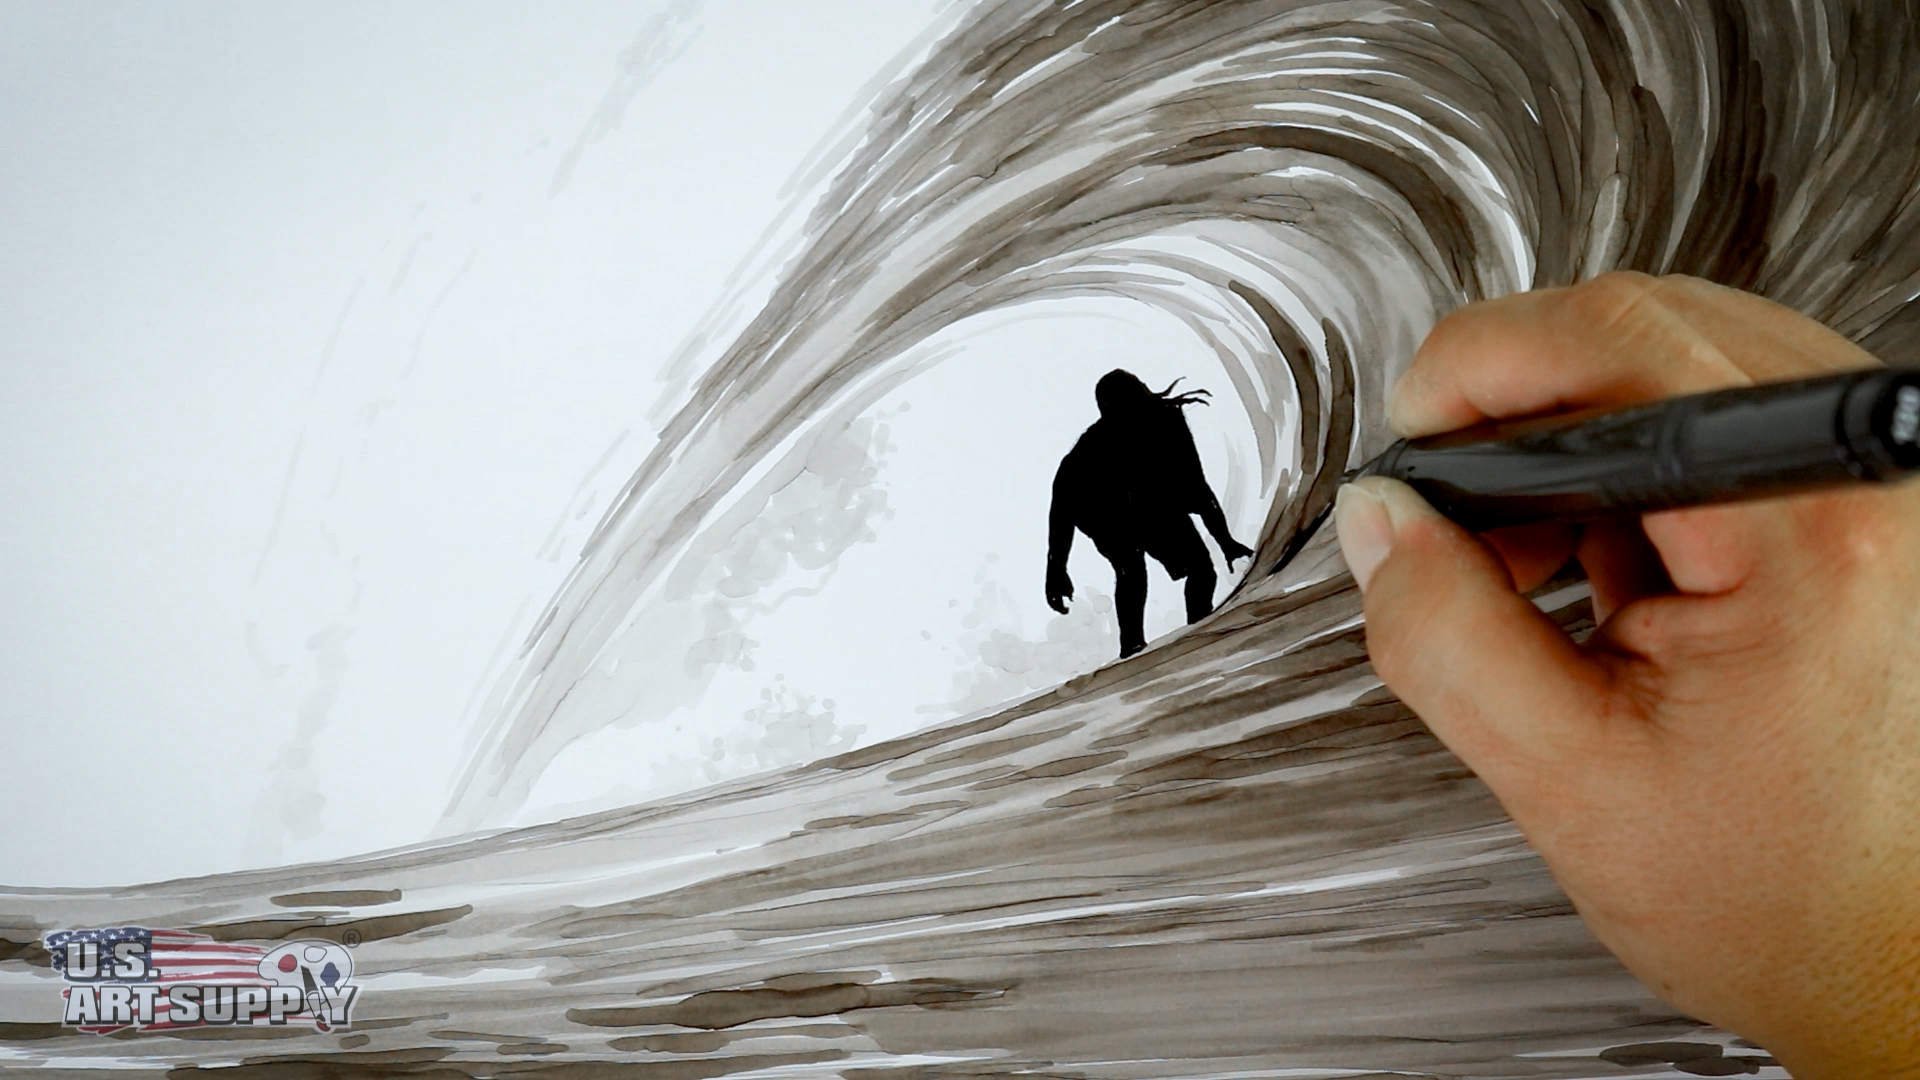
Markers are very interesting because when the ink dries, you can create darker marks over them with the same marker giving you a wide variety of shades to play with. The same marker can give many shades of grey.
Step 6: Final Details
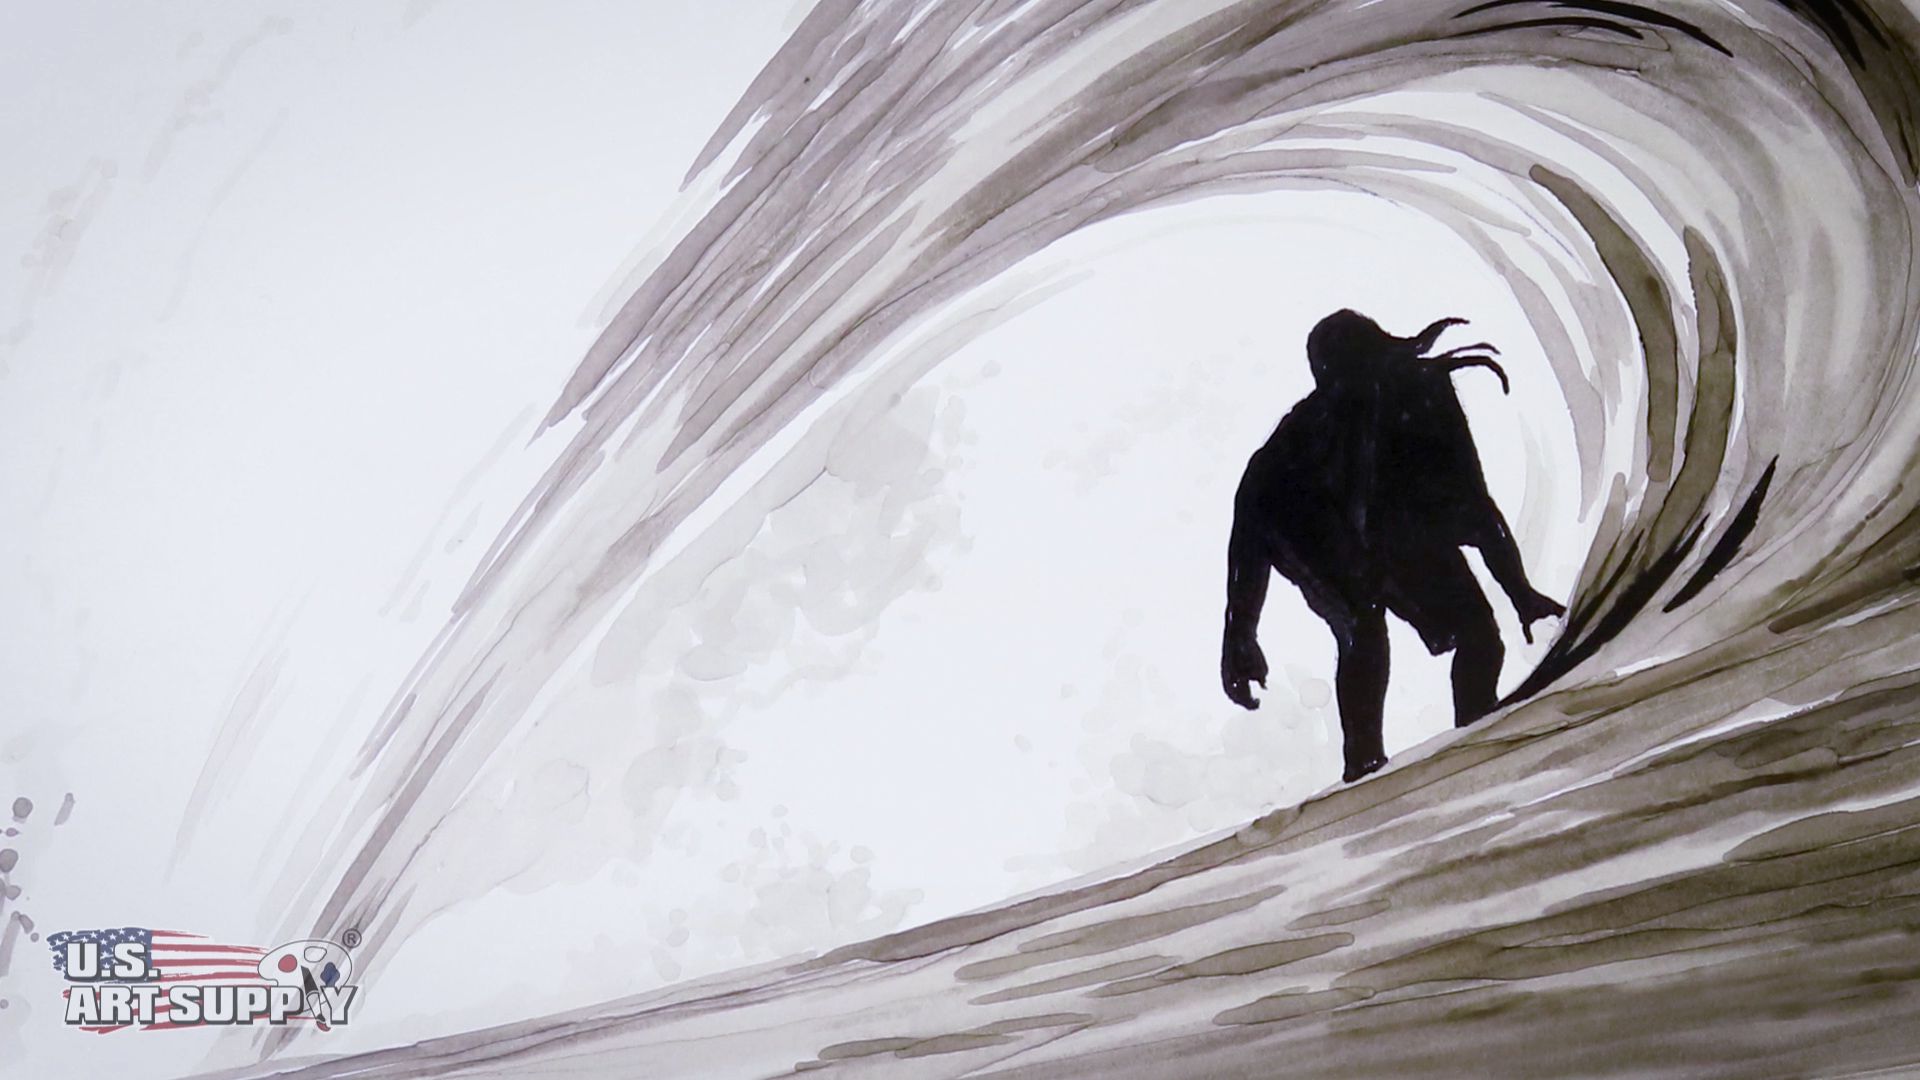
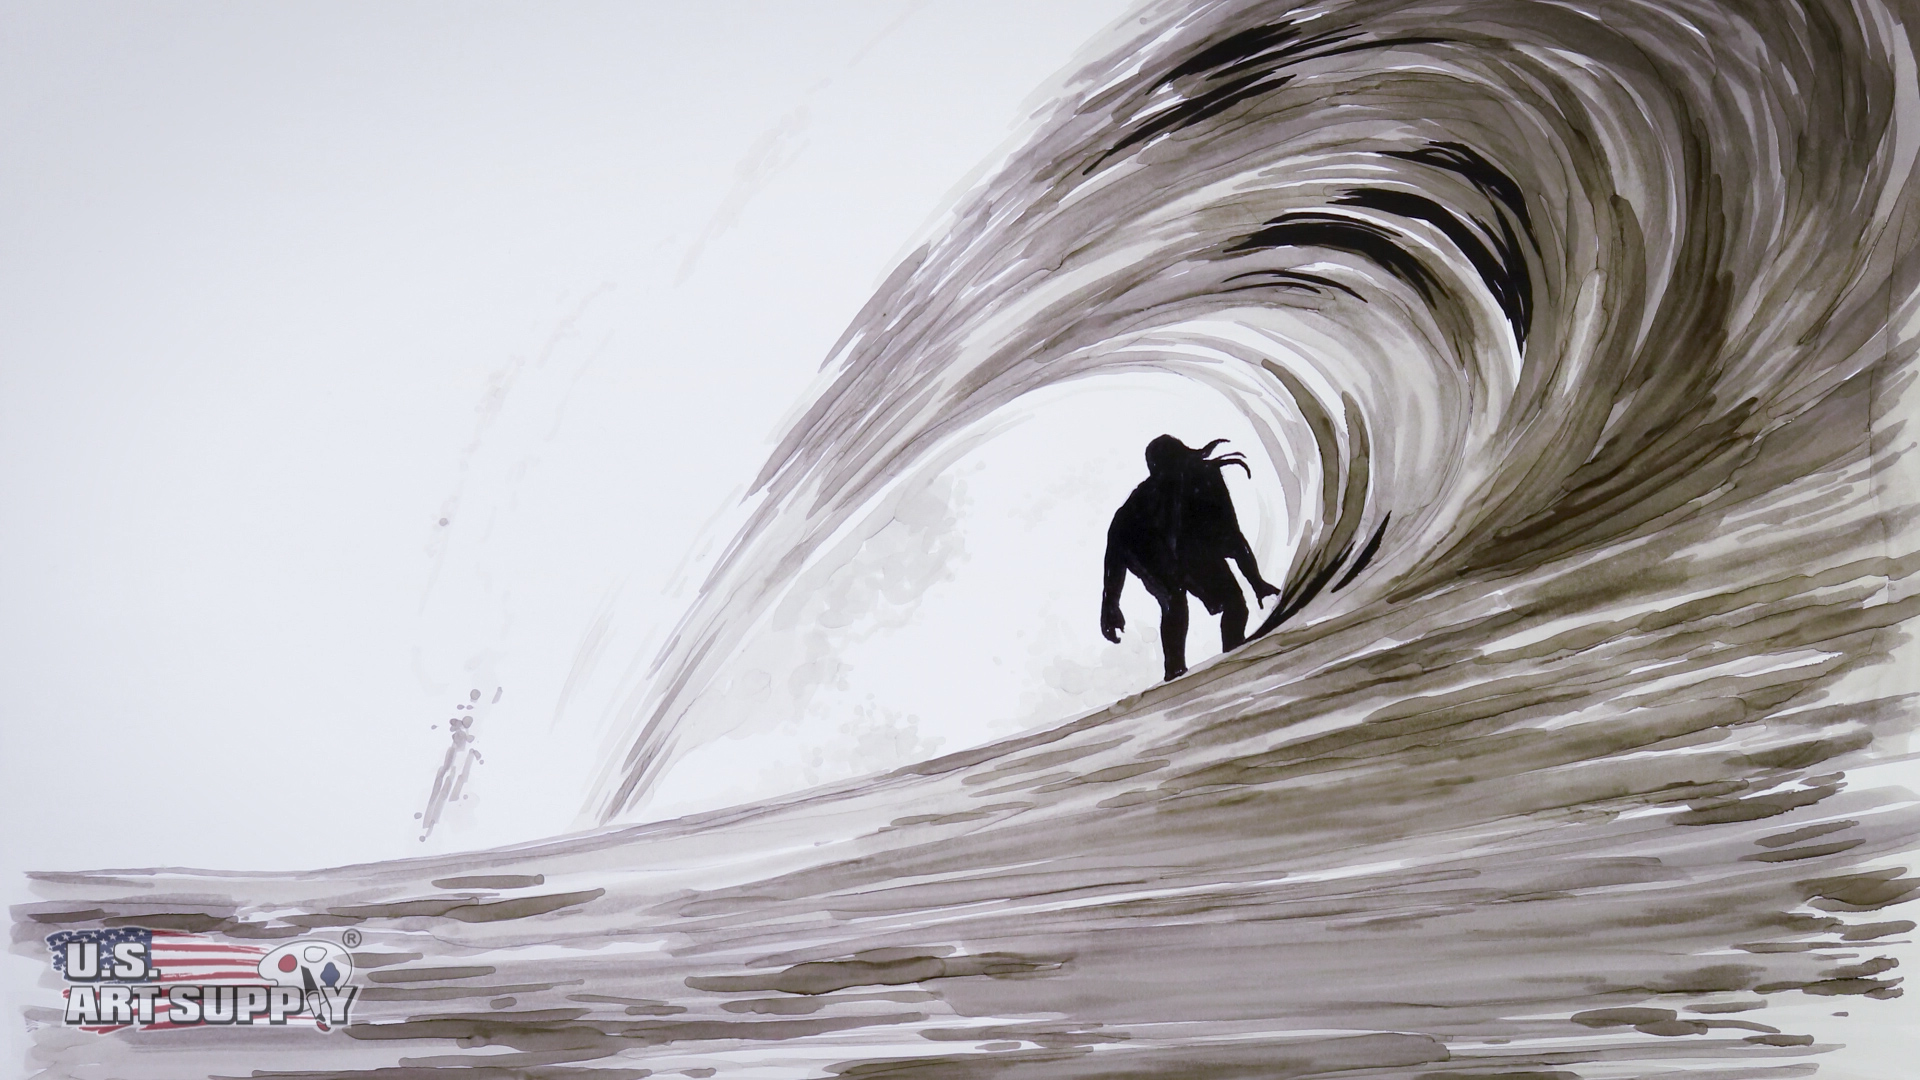
From here I can finally get into the black marker, where all of the shading we did will make sense. I start by adding myself in the barrel of the wave, and then add my dark reflection in the reflections of the barrel.
Thanks for creating with me today and join us again for another fun U.S. Art Supply tutorial.
